Forming Wire Coils

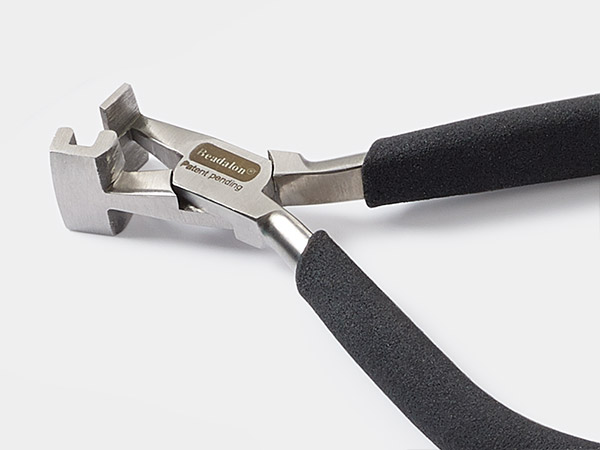
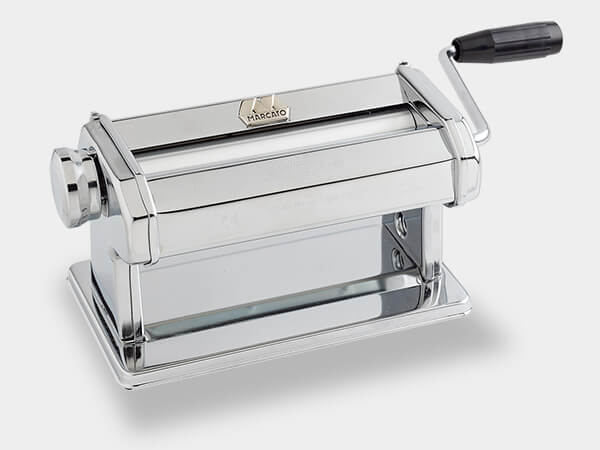
Create wire coils with tools, gadgets and forming devices designed to make consistent coils for limitless jewelry-making. Have fun choosing from all the different wires to then make different coils.
Instructions
Using a Coiling Mechanism to Create Coiled Coils
Set up The Coiling Gizmo™ according to the manufacturer's instructions. Insert the thin rod into the rod holder.
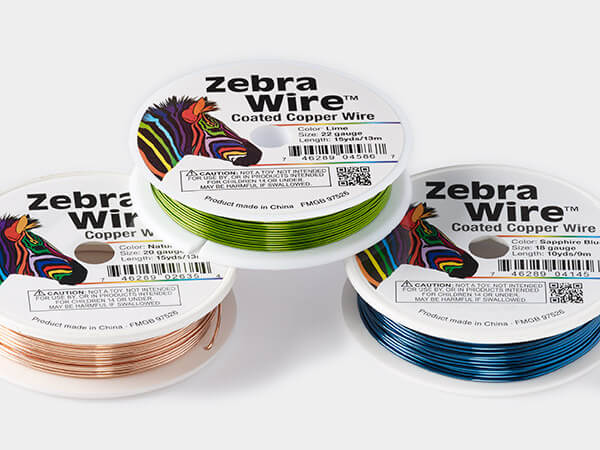
Tie the wire coming off of a spool of your choice color of Zebra Wire™, 24-gauge wire to the thin rod crank.
Do not cut the wire off of the spool.
Turn the crank to feed the wire onto the rod and create a 6-inch coil. You will likely use 7 feet of wire. Remove the coil from the rod crank and cut the wire from the spool, making the cut close to the coil.
Repeat this process to create additional identical coils.
Choose a Zebra Wire in a contrasting color and one that is thicker than 24 gauge to be a supporting wire in the next step. Wire shown is Zebra Wire 22-gauge in silver plate.
Thread the 24-gauge coil (made in Step 1) onto the 22-gauge spool. Tie the end of the 22-gauge wire to the thin rod crank (like you did for the 24-gauge wire in Step 1).
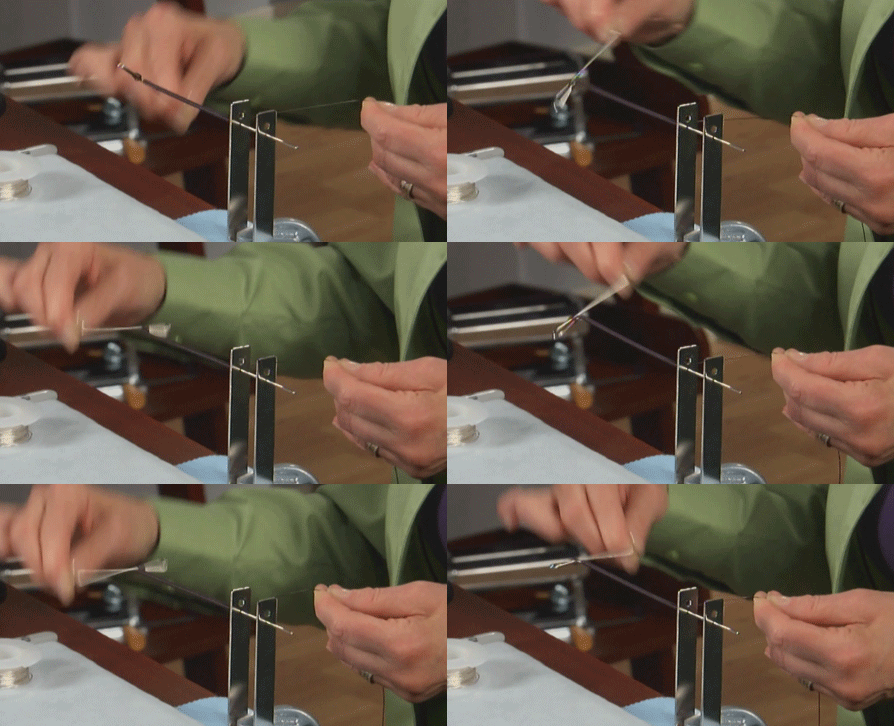
Turn the crank and push the black coil up as the silver wire coils onto the rod. This creates a coiled bead. Trim the wires to release the bead from the spool then remove from the rod.
Repeat this process to create additional coils.
Using Mandrels to Create Coils
Create slightly graduated coils with interesting shapes using steel bezel mandrels. Mandrels come in a variety of geometric shapes: round, hexagon, square and triangle.
Select a 1-1/2 inch section on the shaped mandrel. Using a marker, mark the bezel mandrel at the start and end of the 1-1/2 inch section. Cut a 28-inch length of 20-gauge wire; the wire used in this coil is sterling silver.
Tip: If you want a coil that has wider spacing, you will use less wire.
Tape the wire at the wider (lower) mark on the mandrel.
Form the wire, by hand, wrapping it around the mandrel, working toward the other mark on the mandrel. As you form the wire, keep the wraps close to one another or spaced apart, depending on the look you are going for. Stop when you reach the second mark. Cut any excess wire and trim the wire ends so they are flush.
Remove the tape and slip the coil off the mandrel. The coil will "spring" into another shape as soon as it is released from the mandrel.
Repeat Steps 1 - 3 to make additional coils that are identical.
Design Tips:
- Highlight the corners of the shaped coils by oxidizing with liver of sulfur.
- Bring out highlights in the coil (removing excess oxidation) by brushing the coil using a soft brush, soap and water until you are pleased with the finish.
- Harden and polish the coils by tumbling in a tumbler with stainless steel shot.
Use these coils in your wire designs or to create the earring design shown in the how-to video "Designing with Wire Coils" and in the Gallery of Designs, titled "Going, Going, Gone Fishing"
Shop for Your Materials Here:
Have a question regarding this project? Email Customer Service.
Copyright Permissions
The pieces featured in the Gallery of Designs are copyrighted designs and are provided for inspiration only. We encourage you to substitute different colors, products and techniques to make the design your own.
All works of authorship (articles, videos, tutorials and other creative works) are from the Fire Mountain Gems and Beads® Collection, and permission to copy is granted for non-commercial educational purposes only. All other reproduction requires written permission. For more information, please email copyrightpermission@firemtn.com.
