Secrets to Kumihimo Project 2: 8 Strand Round Braid
Take your kumihimo skills to the next level with this step-by-step tutorial on the 8-strand round braid. In this episode of the Secrets to Kumihimo series, we’ll guide you through the techniques to create a smooth, professional-looking bracelet using eight strands. Whether you’re expanding your braiding skills or starting a new project, this video is the perfect place to learn and get inspired.


Design Idea RC3D
-- Designer --
Elaine, Jewelry Designer, Exclusively for Fire Mountain Gems and Beads®
To learn more about Elaine Young, read her jewelry artist success story here.
: : : Materials : : :
Click here to view a full list of materials used in this design.
Please take the creative opportunity to select the products of your choice for this design, offered here at Fire Mountain Gems and Beads. Some materials may not be available or listed.
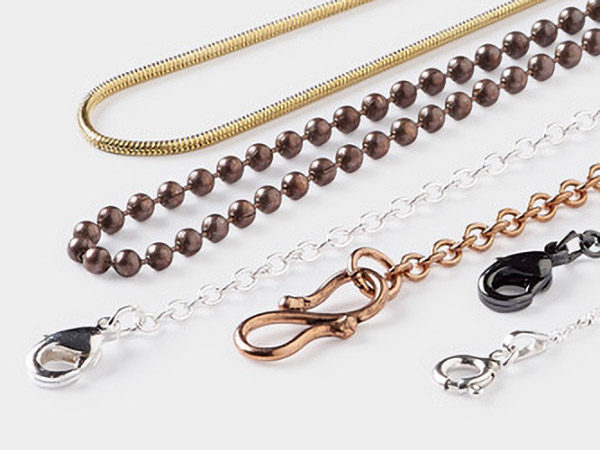
- Chain, gold-finished brass, 4mm double round cable
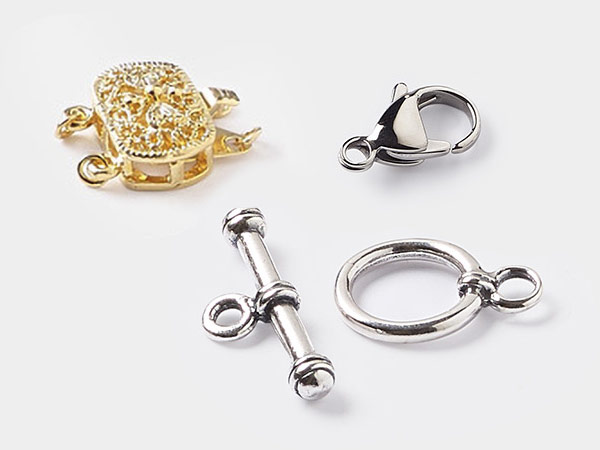
- Clasp, lobster claw, gold-plated brass, 10x6mm
- Cord end, gold-plated brass, 8x8mm with 7mm inside diameter
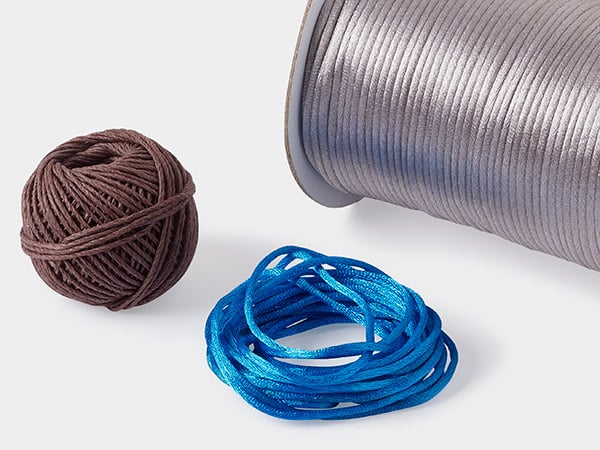
- Cord, Satinique™, satin, dark grey, 1mm
- Cord, Satinique™, satin, golden, 1mm
- Eye pin, gold-plated brass, 1-1/2 inches, 21 gauge
- Huggy Spool®, pliable plastic, clear, 3-1/2 inch round with 4/5 inch hole
- Jump ring, gold-plated brass, 4mm round, 2.4mm inside diameter, 20 gauge
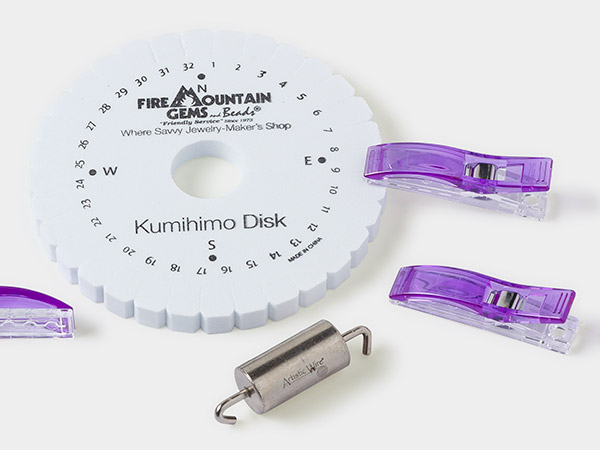
- Kumihimo disk, EVA foam, white and black, 6-inch round and 3/8 inch thick with 1-1/2 inch inside hole and 32 slots
- Thread, Berkley® FireLine®, gel-spun polyethylene, smoke, 0.13mm diameter 4-fiber braid, 4-pound test
- Wire knitter and kumihimo weight, Artistic Wire®, steel, 2 x 1/2 inches, 50 grams
Instructions
Cut four equal-length strands of cord to your desired finished braid length (each strand should be long enough to wrap around your wrist three times for bracelet sizing), using two strands of each color. Fold each strand in half, creating a total of eight working strands.
Cut an additional 4-inch cord to secure the starting point.
Gather all four folded ends together so the folded loops align. Use the 4-inch strand to tie the folded ends tightly together, forming a secure knot. This knot will sit at the center of your braid and pass through the hole of the disc.
Insert the tied end of the cords through the center hole of the disc so it hangs below.
While holding the knot underneath the disc, pull each working strand into position, inserting them into the correct numbered slots around the disc.
Use the slots on either side of the four dots on the disc as follows:
- Color 1 (e.g., yellow):
- Top: Slot #32 and Slot #1
- Bottom: Slot #16 and Slot #17
- Color 2 (e.g., grey):
- Right: Slot #8 and Slot #9
- Left: Slot #24 and Slot #25
With the top of the disc (North) facing you, begin the braiding sequence:
- Move the bottom left cord (Slot #17) up to Slot #31 (just left of the top pair). You now have three strands at the top of the disc.
- Move the top right cord (Slot #1) down to Slot #15 (just right of the bottom pair).
- Rotate the disc counterclockwise 1/4 turn (90 degrees).
- Move the new bottom left cord (Slot #25) up to Slot #7.
- Move the top right cord (Slot #9) down to Slot #23.
- Rotate the disc counterclockwise again 1/4 turn.
Repeat the braiding steps: Always move the bottom left cord up, then the top right cord down, then rotate the disc 1/4 turn counterclockwise. Continue this pattern until your braid reaches the desired length.
Helpful Hint: Need to pause your work? Stop when there are three strands at the top of the disc. This visual cue makes it easy to remember where you left off.
Shop for Your Materials Here:
Copyright Permissions
The pieces featured in the Gallery of Designs are copyrighted designs and are provided for inspiration only. We encourage you to substitute different colors, products and techniques to make the design your own.
All works of authorship (articles, videos, tutorials and other creative works) are from the Fire Mountain Gems and Beads® Collection, and permission to copy is granted for non-commercial educational purposes only. All other reproduction requires written permission. For more information, please email copyrightpermission@firemtn.com.