Secrets to Kumihimo Project 6:12-Strand Braid with Cupchain
Unlock the beauty of kumihimo with this Project 6 of 9 in the Secrets to Kumihimo series! In this tutorial, you’ll learn how to make a 12-strand flat braid with sparkling cupchain beads. Perfect for jewelry makers of all skill levels, this project will expand your braiding skills and inspire new designs.


Design Idea RC3F
-- Designer --
Elaine, Jewelry Designer, Exclusively for Fire Mountain Gems and Beads®
To learn more about Elaine Young, read her jewelry artist success story here.
: : : Materials : : :
Please take the creative opportunity to select the products of your choice for this design, offered here at Fire Mountain Gems and Beads. Some materials may not be available or listed.
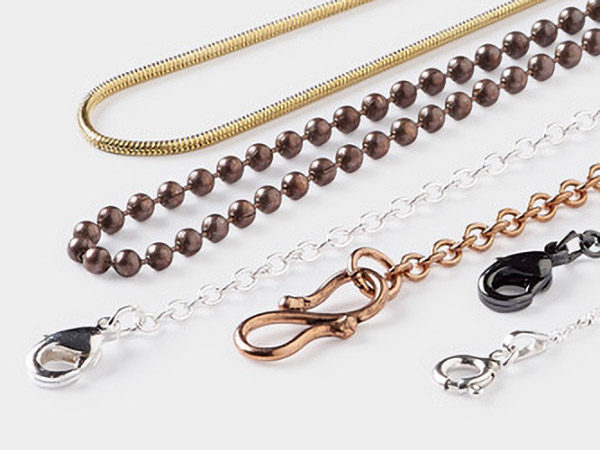
- Clasp, magnetic barrel, silver-plated steel, 8x4mm
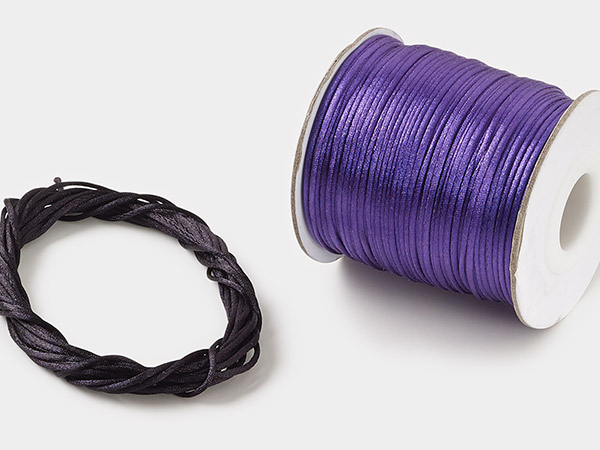
- Cord, Satinique™, satin, teal, 1mm
- Cupchain, glass rhinestone and silver-plated brass, clear, 4mm round
- Jump ring, silver-plated brass, 6mm round, 4.2mm inside diameter, 18 gauge
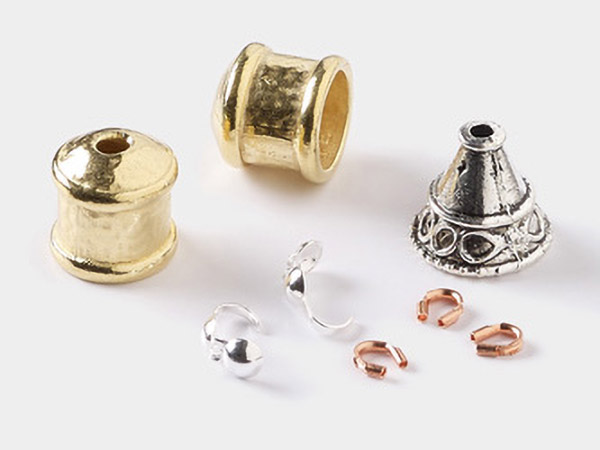
- Ribbon crimp end, silver-plated brass, 16x6mm textured rectangle
- Adhesive, E6000®, clear
- Adhesive, Quick Hold®, clear
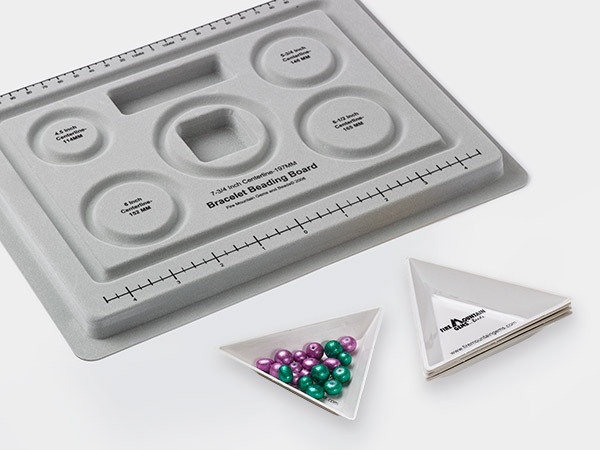
- Kumihimo plate, EVA foam, white and black, 6-inch single-sided square with 2 x 1-1/4 inch inside hole and 32 slots, 3/8 inch thick
Instructions
Cut twelve 20-inch lengths of Satinique™ 1mm teal satin cord. Gather all 12 strands together and tie an overhand knot.
Push the knot of the cords through the center hole of a square kumihimo disk. Attach a weight into the loop in the knot you made.
Insert the 12 strands of cord into the slots on the square kumihimo disk as follows:
- Top six cords: in Slots 4, 5, 6, 7, 8 and 9
- Bottom six cords: in Slots 4, 5, 6, 7, 8 and 9 (circled numbers)
Pull each cord tightly into its designated slot.
Begin moving the cords as follows:
Slots on the right side of the square kumihimo disk:
- Slot top 7 to Slot left B
- Slot bottom 6 to Slot top 6
- Slot top 5 to Slot bottom 6
- Slot bottom 5 to Slot top 5
- Slot top 4 to Slot bottom 5
- Slot bottom 4 to Slot top 4
Slots on the left side of the square kumihimo disk:
- Slot bottom 7 to Slot top 7
- Slot top 8 to bottom 7
- Slot bottom 8 to Slot top 8
- Slot top 9 to Slot bottom 8
- Slot bottom 9 to Slot top 9
Bring the cord in Slot right B back to Slot bottom 9. Then bring the cord in Slot left B to Slot bottom 4.
Now all your cords are back in the starting position, with 6 on top and 6 on the bottom in slots 4 through 9.
Repeat this cycle four more times, so that you have about an inch of braid. This will be the tail that will be crimped at the end.
Tip: Push the cords toward the center of the square kumihimo disk after each round to keep the braid tidy.
Cut a 7-inch length of 4mm round cupchain. Hold the end of the cupchain face up between Slot top 6 and Slot top 7. Pretend this is your center line, letting the cupchain drape from the top of the square kumihimo disk down to the center. Make sure the first cup fits snugly against the center knot.
Pick up the cord in Slot top 6 like you’re going to move it to Slot left B, but this time make sure your cord is placed between the first and second cupchain links before placing it in Slot left B. Then take the cord in Slot top 7 and place it between the first and second cupchain links as well and place it in Slot right B. Continue like this until you have done a full round of braiding, with all cords back on the top and bottom of the square kumihimo disk.
Fold the cupchain so that instead of being face up and draping over the top of the square kumihimo disk, it will be face down and draping over the bottom of the square kumihimo disk between Slot bottom 6 and Slot bottom 7.
Complete a round of the kumihimo braiding pattern, allowing the strands to cross on the back side of the cupchain.
Fold the cupchain so it is once again face up and draping over the top of the square kumihimo disk. Repeat Step 6 until you have woven all the cupchain into the braid.
Continue braiding without cupchain until you have made approximately 1 inch of braid. This will be the tail. Take the cords off the kumihimo disk and tie them in an overhand knot
Glue the ends of the cords with E6000® adhesive and let them dry completely.
Determine where you want the crimp end to be and trim off any excess cord. Attach the crimp ends to both sides of the bracelet.
Using two 6mm 18-gauge round jump rings, one for each side of the bracelet, attach a magnetic barrel clasp.
Shop for Your Materials Here:
Copyright Permissions
The pieces featured in the Gallery of Designs are copyrighted designs and are provided for inspiration only. We encourage you to substitute different colors, products and techniques to make the design your own.
All works of authorship (articles, videos, tutorials and other creative works) are from the Fire Mountain Gems and Beads® Collection, and permission to copy is granted for non-commercial educational purposes only. All other reproduction requires written permission. For more information, please email copyrightpermission@firemtn.com.