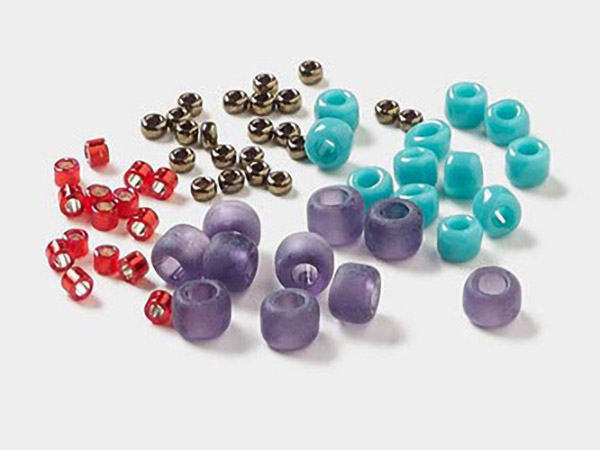
6 Ways to Finish Your Seed Bead Bracelet
Not sure how to finish your seed bead bracelet? We explore six different ways to give your seed bead jewelry designs the perfect closure.
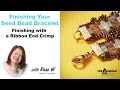
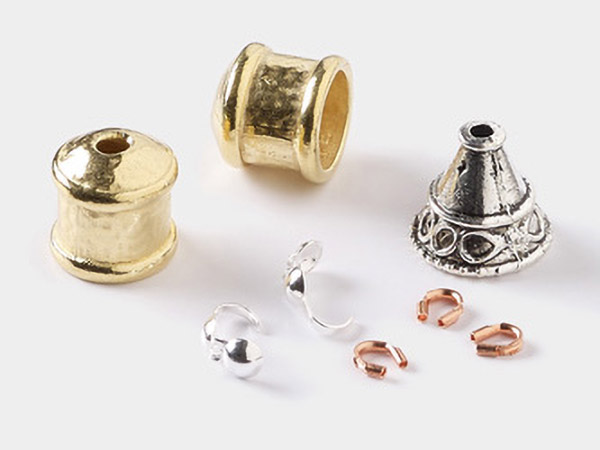
Finishing with an End Bar
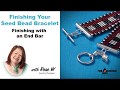
It's easy to finish your seed bead projects with end bar tubes that are specifically made for seed beading. Rose shows you just how it's done in this quick how-to video.
Slide the last row of your finished beadwork inside the tube compartment, with the rest of the piece emerging from the slot. Fold the open end down to secure your piece in place. The tube accepts round seed beads up to 3mm in diameter.
Tip: If desired, apply a small amount of adhesive to the tube before closing the end.
Repeat on the opposite end of the design.
Use a jump ring to attach an extender chain, clasp, dangles and more to the loop on the opposite side of the bar.
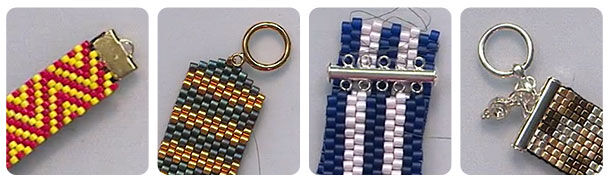
View design inspirations featuring end bars in the Gallery of Designs:
Decreasing Technique
Try finishing your peyote stitch bracelet designs by tapering to a point and then sewing a clasp on with a loop at the end. Rose demonstrates the ins and outs of this seed bead jewelry finishing technique.
Taper the ends of a woven strip by decreasing the number of beads on either end of each row, to one-bead wide in the last row. Decreasing the last few rows in your design allows you to add a single-strand clasp and extender chain to the ends of the design. Pass through adjacent seed beads in the previous rows in a figure 8 pattern to secure the thread.
- ''Bracelet with Dyna-Mites™ and Miyuki Seed Beads'' design idea
- ''Bracelet with Preciosa Ornela Czech Glass Seed Beads'' design idea
- ''Bracelet with Delica® Seed Beads'' design idea
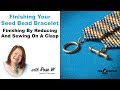
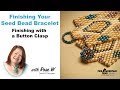
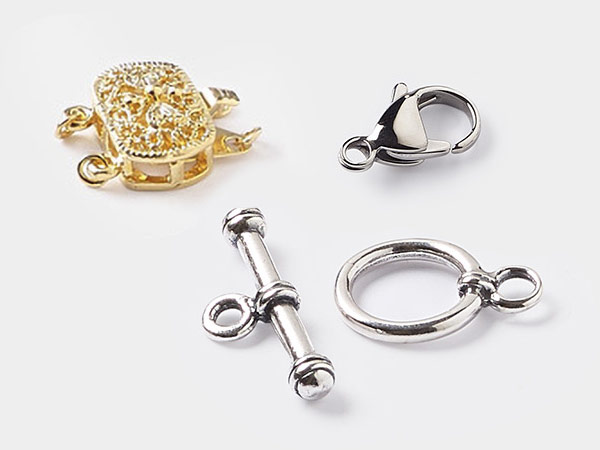
Finishing with a Slide Clasp
Rose has a surefire way to finish peyote stitch seed beading: a slide lock clasp. See why this clasp finding is perfect for peyote or your other seed bead jewelry projects.
Use a needle and length the thread to pass through several adjacent seed beads along the edge of the beadwork, exiting where the first loop on one half of one slide lock clasp will be secured. Continue through the bead and loop until the loop is secure. Match up the remaining loops on the clasp and continue to secure the clasp to the beadwork.
Repeat to attach the second portion of the clasp to the opposite end of the beadwork.
Note: Be sure to verify the ends of the clasp are facing opposite directions so the clasp will close properly.
View design inspirations featuring slide clasps in the Gallery of Designs:
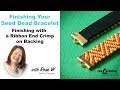
Finishing with Ribbon Crimp Ends
Try finishing seed bead bracelets with ribbon ends. In-house jewelry designer Rose walks you through how to incorporate this versatile and easy-to-use crimp finding.
Apply a generous amount of adhesive to the inside of the open end of one ribbon end. Slide the ribbon end over the end of the bracelet, then gently close. Repeat on the opposite end. Use jump rings to attach the clasp of your choice to the ribbon ends.
Note: Ribbon ends were designed for use with flat ribbon. Since your beadwork has dimension, the ribbon end will not close completely. Use a ribbon end with smaller teeth to prevent your thread from being cut. It may be preferable to sew the finished beadwork onto a backing.
Finishing with Ribbon Crimp Ends on Backing
Not excited about clamping findings onto the ends of your beautiful seed bead project? Rose has a way to keep the end of your seed bead bracelet looking pristine while still adding ribbon ends to finish it off.
Cut a length of leather or other material approximately one inch longer than the finished seed bead design. Use a small amount of adhesive or stitch the finished seed bead piece onto the length of material.
Apply adhesive inside one ribbon end, then place the ribbon end over the end of the material. Use a pair of pliers to secure the ribbon end to compress it over the material.
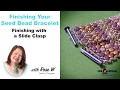
View design inspirations featuring ribbon crimp ends in the Gallery of Designs:
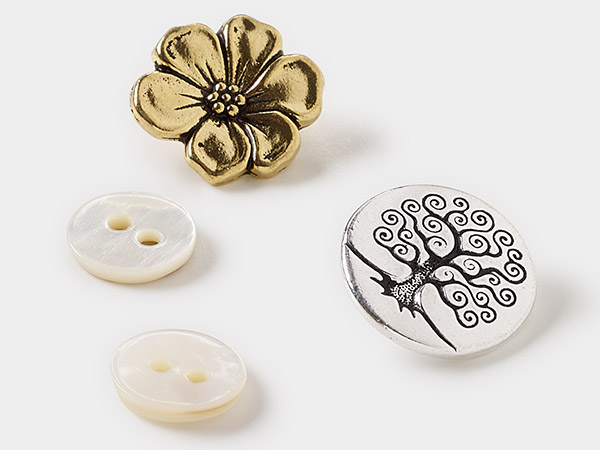
Finishing with a Button Clasp
Taper your seed bead project on one end, add a seed bead loop and then sew a button on the other end for a different way to finish your seed bead bracelet.
Attach a button, or create a button from seed beads, to the beginning of the design and create a seed bead loop at the end of the design instead of a traditional clasp.
Another option is to create a loop by skipping a stitch in the center of a few rows to create a slit for a button that will be attached at the end.
View design inspirations featuring button clasps in the Gallery of Designs:
Shop for Your Materials Here:
Have a question regarding this project? Email Customer Service.
Copyright Permissions
All works of authorship (articles, videos, tutorials and other creative works) are from the Fire Mountain Gems and Beads® Collection, and permission to copy is granted for non-commercial educational purposes only. All other reproduction requires written permission. For more information, please email copyrightpermission@firemtn.com.