Ombré Earrings with Delica® Seed Beads and Gold-Plated Components


Design Idea RK2K
Inferno Ombré
-- Designer --
Patti, Jewelry Designer, Exclusively for Fire Mountain Gems and Beads®
To learn more about Patti Miller, read her jewelry artist success story here.
: : : Materials : : :
Click here to view a full list of materials used in this design.
Please take the creative opportunity to select the products of your choice for this design, offered here at Fire Mountain Gems and Beads. Some materials may not be available or listed.
- Jump ring, gold-plated brass, 5.5mm round, 3.5mm inside diameter, 18 gauge.
- Thread, Berkley® FireLine®, gel-spun polyethylene, smoke, 0.18mm diameter 4-fiber braid, 8-pound test.
- Bead, Preciosa Pip™, Czech pressed glass, opaque light gold, 7x5mm top-drilled pip.
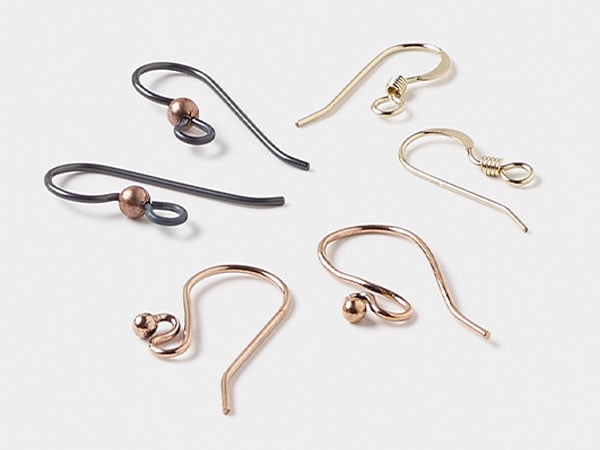
- Ear wire fishhook, gold-plated, 17mm / 2mm ball / open loop, 19 gauge brass.
- Component, gold-plated brass, 23x13mm single-sided diamond-cut open diamond, 1.3mm thick.
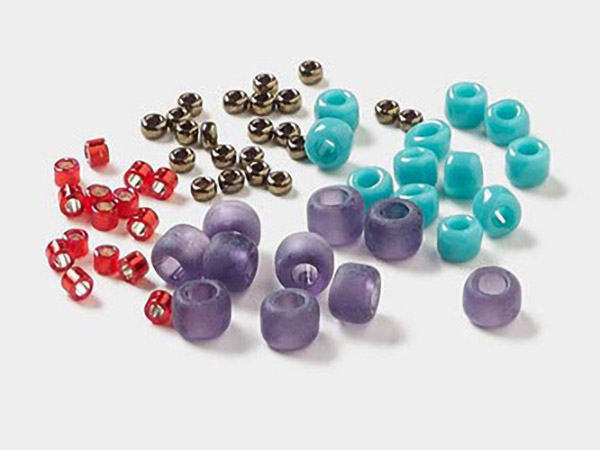
- Seed bead, Delica®, glass, #11 round, opaque matte black (DB-0310).
- Seed bead, Delica®, glass, #11 round, opaque brick red (DB-0654).
- Seed bead, Delica®, glass, #11 round, opaque vermillion red (DB-0727).
- Seed bead, Delica®, glass, #11 round, opaque Picasso red (DB-2263).
- Adhesive, 5 Minute® Epoxy, 2-part epoxy, clear.
- Needle, Tulip, nickel- and gold-plated steel, #11 with 0.52mm eye width.
Instructions
Earring Instructions
Cut a 50-inch length of FireLine® 8-pound smoke polyethylene thread and thread it onto a Tulip #11 2-inch needle.
Using a simple knot, tie the tail of the thread to one side corner of a 23x13mm gold-plated open diamond component, leaving an 8-inch tail.
Thread on one Delica® #11 vermillion red round seed bead. Let the bead fall to the frame, then hold the bead on the back side of the frame with the bead snug against the bottom of the frame. Bring the needle through from the back to the front of the frame, then pass is through the bead. Pull the bead tight against the frame.
Thread on a second vermillion red bead, then hold the bead snug against the frame next to the original bead with the end where the thread exits upward. Push the needle down. The direction you thread here is very important to make the bead lie correctly. Keep threading on vermillion red beads in this manner until you reach the opposite corner.
Go around the frame and string the thread back though the last bead. Pull it taut.
Thread on your desired pattern of beads in the length you want for the strand on the outermost side of the component. To achieve the ombre look, thread several of color one, then variegate with color two. For example, string 8 of color one, one of color two, one of color one, three of color two, one of color one, then 7 of color two. This will make the colors look blended. Continue this with colors three and four.
Thread on a Preciosa Pip™ bead or end bead of your choice.
Bring the needle back though all the beads, starting with the bottom bead. Be careful not to skip any beads. Laying the beads flat on a work surface helps while you do this. Then go back through the top bead sewn onto the frame. Pull taut to take up the empty thread space, then wiggle the strand a bit to make sure it’s not so tight that the strand kinks up. Do this for every strand you make.
*Tip: When you need to add more FireLine, stitch until you have about 8-inches of thread left. Then thread back and forth amongst the beads until you have taken up four to five inches, then pull taut and cut the tail off. Cut more Fireline (50 inches here), thread your needle and pass it back and forth through beads until it feels secure. Then pass it back to where you left off, pull the tail taut, cut it off and continue beading.
Bring your needle back down through the next bead sewn to the frame. String on your next patterns of beads similar to the first but change the variegation so you are not skipping beads at the same places. Add two beads to the pattern to make the strand a bit longer than the first.
After the center strand is strung, continue in the same manner until you’ve strung on all the strands, corner to corner, mirroring the strands on the opposite side. The total number of strands should be an odd number—one central strand and an equal number of strands on either side.
Roll all the strands on a flat surface to make sure they aren’t pulled too tightly. Adjust any strands that are too tight or too loose. Then thread the tail through the beads until it’s secure. Pull it taut and cut the excess thread.
Add a 5.5mm 18-gauge gold-plated round jump ring to the top of the frame. Then, using a second jump ring, attach the ear wire to the earring.
Repeat Steps 1 - 5 for the second earring.
Tip: Check out "How to Create Fringe Stitches" article and video tutorials.
Shop for Your Materials Here:

Copyright Permissions
The pieces featured in the Gallery of Designs are copyrighted designs and are provided for inspiration only. We encourage you to substitute different colors, products and techniques to make the design your own.
All works of authorship (articles, videos, tutorials and other creative works) are from the Fire Mountain Gems and Beads® Collection, and permission to copy is granted for non-commercial educational purposes only. All other reproduction requires written permission. For more information, please email copyrightpermission@firemtn.com.