Refine Your Results
You Searched for: ea0h
10 Products and 85 Resources Found
Page 1 of 4
Results Per Page 24 | 48 | 96
Sort By
Sort
  • Name A-Z
  • Name Z-A
  • Newest First
  • Oldest First
Ask the Experts Seed Beading Q&A
Q: I recently purchased a copy of the bead embroidery handbook and am learning the different stitches. Can you tell me which goes best for each type of stitch? I was trying the tubular peyote with the Czech seed beads but it's not coming out right. I read somewhere that the Delica beads are better for this. What can I use my Czech beads for instead?
Wire Pliers
Wire Pliers
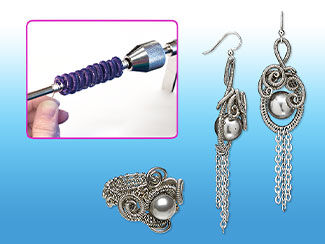
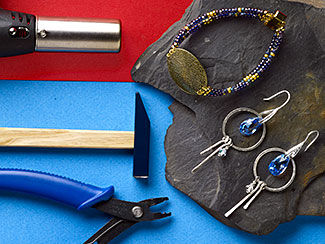
Banding, mandrel and other specialty pliers can make wireworking faster, smoother and more efficient. Read on to see how each pair has its own purpose.
Wire and Metal Coils for Jewelry-Making
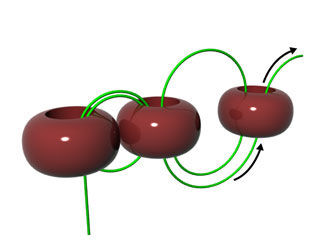
Wire coils have a range of uses in jewelry making. Here are popular tools for creating wire coils, plus links to instructions for using each of them.
Ask the Experts Cupchain Q&A
Q: How do you wire cupchain? Can lengths be attached to each other?
Brick Stitch
Brick Stitch
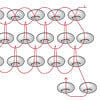
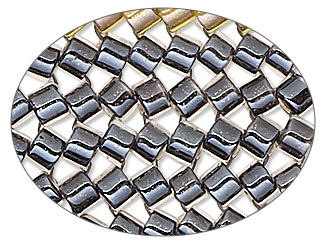
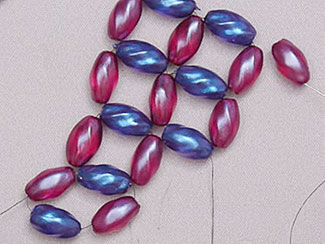
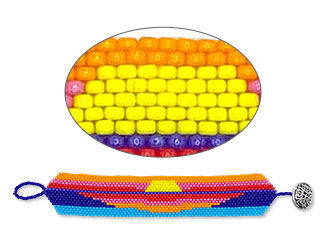
A popular bead weaving technique in jewelry making, brick stitch involves adding beads in an offset pattern to create a flat, tightly woven fabric. This stitch resembles the layout of bricks in a wall, where each bead is positioned between two beads in the previous row. Brick stitch is versatile and can be used to create intricate patterns, shapes, and designs in bracelets, earrings, pendants and other beaded jewelry pieces. It is known for its durability and the ability to form both geometric and freeform designs.
Flat Herringbone Stitch
Begin with a foundation row of even-count ladder stitch. String 2 beads, pass down through the second to last bead in the ladder, and up through the next bead. String 2 beads, pass down the next bead and then up through the following. Repeat to the end of the row. To end the row, pass back through the last bead strung. To begin the next row, string 2 beads and pass down through the second to last bead of the previous row. Repeat, stringing 2 beads per stitch and passing down then up through two beads of the previous row. The 2-bead stitch will cause the beads to angle-up in each row, like a herringbone fabric.
Tubular Peyote Stitch
String an even number of beads and make a foundation circle by passing through them two more times, exiting from the first bead strung. String 1 bead and pass through the third bead of the foundation circle. String 1 bead and pass through the fifth bead of the foundation circle. Continue adding 1 bead at a time, skipping over 1 bead of the first round, until you have added half the number of beads of the first round. Exit from the first bead of the second round. String1 bead, pass through the second bead added in the second round and pull thread tight. String 1 bead and pass through the third bead added in the second round. Continue around, filling in the ''spaces'' 1 bead at a time. Exit from the first bead added in each round.
Ladder Stitch
Ladder Stitch
Using two needles, one threaded on each end of the thread, pass one needle through one or more beads from left to right and pass the other needle through the same beads from right to left. Continue adding beads by crisscrossing both needles through one bead at a time. Use this stitch to make strings of beads or as the foundation for brick stitch. For a single-needle ladder, string 2 beads and pass through them again. String 1 bead. Pass through the last stitched bead and the one just strung. Repeat, adding one bead at a time and working in a figure-eight pattern.
Hot vs. Cold Jewelry Connections:
Patti walks you through a range of hot and cold connections so you can see which type of connection each of your jewelry designs need.
Right-Angle Weave (Single Needle) Stitch
The right angle weave (RAW) is a basic jewelry-making stitch often used with seed beads and crystal beads. String 4 beads and pass through them again to form the first unit. For the rest of the row, string 3 beads, pass through the last bead passed through in the previous unit, and the first two just strung; the thread path will resemble a figure-8, alternating directions with each unit. To begin the next row, pass through the last 3 beads strung to exit the side of the last unit. String 3 beads, pass through the last bead passed through, and the first bead just strung. *String 2 beads, pass through the next edge bead of the previous row, the last bead passed through in the previous unit, and the last 2 beads just strung. Pass through the next edge bead of the previous row, string 2 beads, pass through the last bead of the previous unit, the edge bead just passed through, and the first bead just strung. Repeat from * to complete the row then begin a new row as before.
Right-Angle Weave (Double Needle)
Using two needles, one on each end of the thread, string three beads on one of the needles and slide them to the center of the thread. String a fourth bead, passing one needle through from left to right and passing the other needle through from right to left. String one bead with each needle, then pick up one more bead and pass one needle through from left to right and pass the other needle through from right to left. Continue for desired length of row. To work the next row, repeat as for the first row, stringing new beads only onto the right thread and passing back through beads from the first row with the left thread. To make a row-end decrease, simply stop your row short and begin a new row.
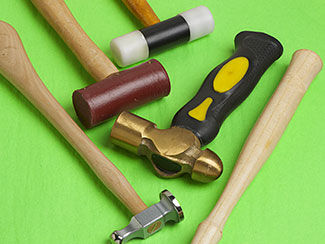
Getting Started with Hammers
Discover how to choose the perfect hammer for each jewelry-making project with Patti in this product spotlight video. She introduces the chasing hammer, mallet, texture hammer, and ball peen hammer to help you select the right tool for every job.
Ask the Experts Q&A
Ask the Experts Q&A
Q: I am making bracelets using 4.6mm alphabet letters and 2mm leather cording. My letters (arranged into a word) are centered on the cord. To hold them in place so they don't slide, I tie a knot on each side of the word. I am looking to use some type of bead, crimp or something instead of the knot to prevent the letters from sliding on the cord. Any suggestions? I saw something called smart beads but I don't think the hole is big enough to fit the 2mm leather through it.
Caitlyn Buckner-Backstrom
I take inspiration from the natural world around me; from flowers in my garden, and the beauty of each season, to the celestial bodies and temperamental Colorado weather, I could make jewelry forever.
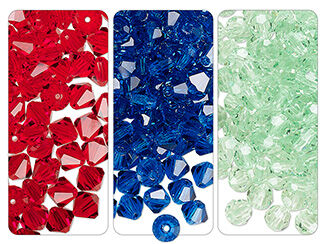
The Big 3 Brands of Crystal Beads
Love the look of crystal, but unsure which brand to shop? Discover the highlights of each of the top three crystal manufacturers.
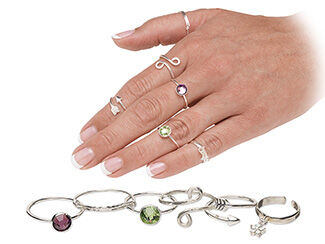
Ring Meanings and Finger Symbolism
How you wear your rings can mean a lot. Learn what each hand, finger and even knuckle is saying--without a word.
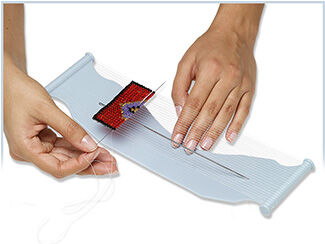
Beginner's Guide to Loomwork
Explore the world of loomwork, where each bead is a pixel in your artistic vision. Learn about the looms, materials and resources you'll need in this article.
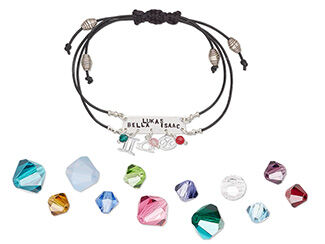
Birthstone Jewelry
Birthstone Jewelry
Learn about the history of gemstones associated with each month and their coordinating crystal colors.
An Earring Finding Guide
Different earring styles suit different needs, and the findings make all the difference! This handy guide explains the unique benefits of each type of earring finding.
The Price is Right
The Price is Right
Learn the art of pricing your products to make a profit. This article explains the importance of factoring in all the labor, material and overhead costs for each hand-crafted item.
Results Per Page 24 | 48 | 96
Sort By
Sort
  • Name A-Z
  • Name Z-A
  • Newest First
  • Oldest First
10 Products and 85 Resources Found
Page 1 of 4