Secrets to Kumihimo Project 5: 10-Strand Flat Braid with Beads


Design Idea RC3M
-- Designer --
Elaine, Jewelry Designer, Exclusively for Fire Mountain Gems and Beads®
To learn more about Elaine Young, read her jewelry artist success story here.
: : : Materials : : :
Click here to view a full list of materials used in this design.
Please take the creative opportunity to select the products of your choice for this design, offered here at Fire Mountain Gems and Beads. Some materials may not be available or listed.
- Charm, gold-plated brass, 13mm snowflake
- Clasp lobster claw, gold-plated, 10x6mm, brass 1-strand
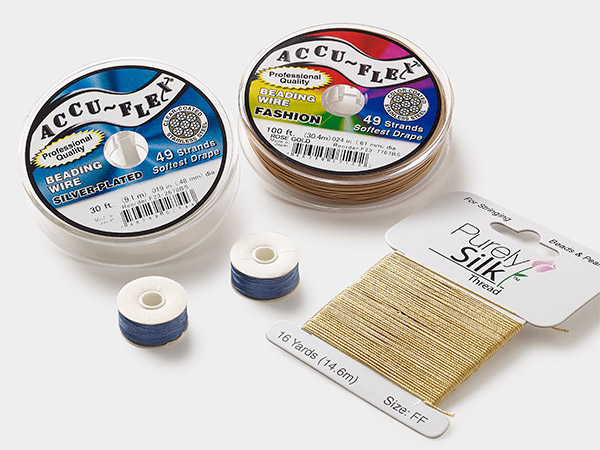
- Cord, imitation silk, black, 1mm
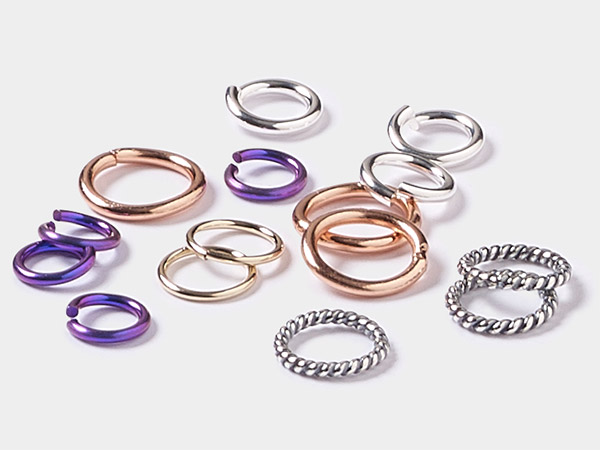
- Jump ring, gold-plated brass, 5.5mm round, 3.5mm inside diameter, 18 gauge
- Ribbon crimp end, gold-plated brass, 10x5mm hammered rectangle
- Seed bead, Dyna-Mites™, glass, opaque 24Kt gold-plated, #6 round
- Wire, ParaWire™, gold-finished and silver-plated copper, round, 26 gauge
Instructions
Cut ten 96-inch strands of 1mm imitation silk cord.
Wrap each strand around a Huggy Spool®.
Add 30 Dyna-Mites™ #6 opaque 24Kt gold-plated seed beads to each of the strands. Slide the beads down towards spools.
Take all ten threads and tie them in an overhand knot, securing them together.
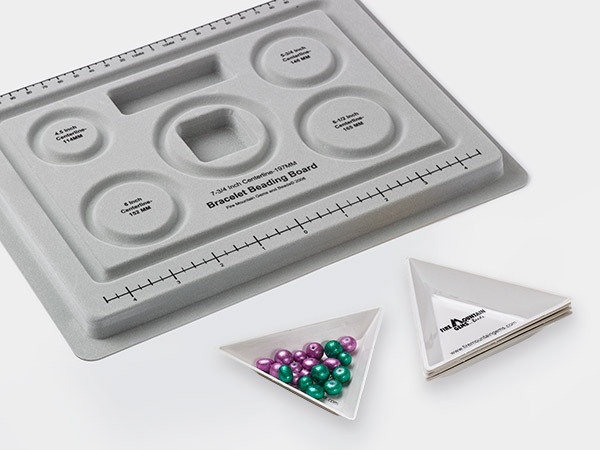
Insert the tied ends of the cords through the center hole of a square kumihimo plate.
Hold the tied ends firmly in place on the underside of the plate. Attach a kumihimo weight.
Insert the strands of cord into the slots on the kumihimo plate, with the Huggy Spools and beads hanging underneath as follows:
Top: 6 Cords
- 1 Cord in slot 8
- 1 Cord in slot 7
- 1 Cord in slot 6
- 1 Cord in slot 5
- 1 Cord in slot 4
- 1 cord in slot 3
Bottom: 4 Cords
- 1 Cord in slot 7
- 1 Cord in slot 6
- 1 Cord in slot 5
- 1 Cord in slot 4
- Move the strand in Top 5 to Right B
- Move the strand in Top 6 to Left B
- Move the strand in Bottom 5 to Top 5
- Move the strand in Top 4 to Bottom 5
- Move the strand in Bottom 4 to Top 4
- Move the strand in Top 3 to Bottom 4
- Move the strand in Bottom 7 to Top 6
- Move the strand in Top 7 to Bottom 7
- Move the strand in Bottom 8 to Top 7
- Move the strand in Top 8 to Bottom 8
- Move the strand in Right B to Top 8
- Move the strand in Left B to Top 3
Tip: If you need to pause, stop when you have three strands at the top. This makes it easier to remember where you left off.
Repeat the pattern in Step 4.
Pause when the braid reaches 1.5-2 inches.
Continue the braiding pattern, but this time, you’re going to drop a seed bead into the center of the plate each time you do Numbers 1 and 2 of the pattern from Step 4, making sure the bead is tucked under the threads before securing the thread into the next slot. Then continue the pattern without beads. Use your fingers to make sure beads are snug and secure.
Continue braiding until you use all the beads. Then continue braiding an additional 1.5-2 inches.
Tip: Illustrated instructions on using a kumihimo plate are available.
Take the strands off the kumihimo plate and tie them in an overhand knot. Sew the strands together with a needle and thread, going back and forth about three times.
Apply some E6000® adhesive to the ends of the bracelet. After it dries, do a stretch/pull test to make sure all the threads are secure before you trim off the knots. Then wrap each end in 1 inch of 26-gauge round ParaWire™.
Apply more adhesive to one end of the bracelet and to the inside of a 10x5mm rectangle ribbon crimp end. Use flat-nose pliers to crimp it closed. Let the adhesive dry completely. Repeat for the other end of the bracelet. Trim off the excess thread with scissors.
Attach a 5.5mm 18-gauge round jump ring to one end of the bracelet. Attach a lobster claw clasp to the jump ring.
Attach three jump rings to the other end of the bracelet. Attach a snowflake charm to the third jump ring.
Shop for Your Materials Here:

Have a question regarding this project? Email Customer Service.
Copyright Permissions
All works of authorship (articles, videos, tutorials and other creative works) are from the Fire Mountain Gems and Beads® Collection, and permission to copy is granted for non-commercial educational purposes only. All other reproduction requires written permission. For more information, please email copyrightpermission@firemtn.com.