Secrets to Kumihimo Project 8: 8-Strand Braid with Beads and Crystals
In project 8 of 9 in our Kumihimo series, learn how to craft an elegant 8-strand Kumihimo braid enhanced with sparkling beads and crystals. Follow along for expert tips, easy techniques and design inspiration to expand your jewelry-making skills.


Design Idea RC3H
-- Designer --
Elaine, Jewelry Designer, Exclusively for Fire Mountain Gems and Beads®
To learn more about Elaine Young, read her jewelry artist success story here.
: : : Materials : : :
Click here to view a full list of materials used in this design.
Please take the creative opportunity to select the products of your choice for this design, offered here at Fire Mountain Gems and Beads. Some materials may not be available or listed.
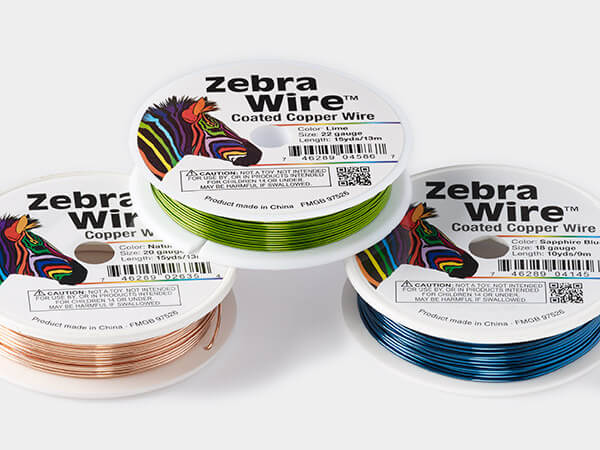
- Wire, Zebra Wire™, silver-plated copper, round, 24 gauge.
- Kumihimo disk, EVA foam, white and black, 6-inch round and 3/8 inch thick with 1-1/2 inch inside hole and 32 slots.
- Wire knitter and kumihimo weight, Artistic Wire®, steel, 2 x 1/2 inches, 50 grams.
- Huggy Spool®, soft plastic, clear, 2-1/2 inch round with 3/4 inch hole.
- Adhesive, Quick Hold®, tube, clear.
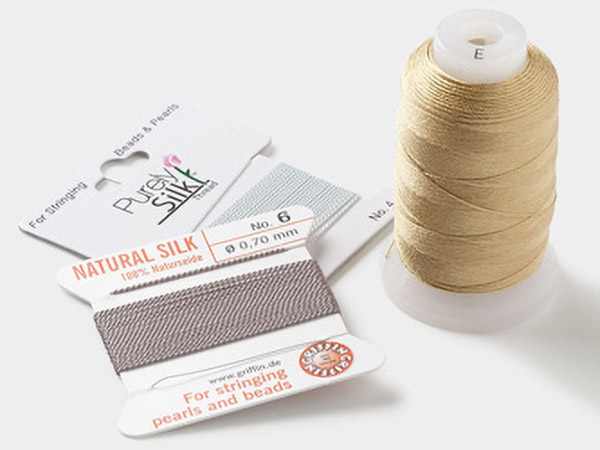
- Thread, C-Lon®, nylon, beige, 0.5mm diameter.
- Clasp, magnetic, gunmetal-plated brass, 18x7mm locking round tube with glue-in ends, 5mm inside diameter.
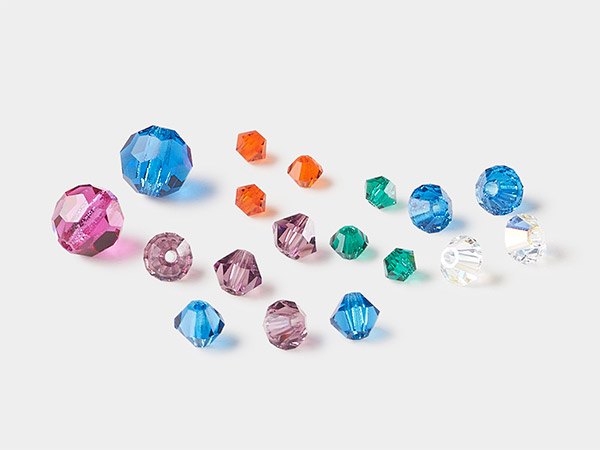
- Bead crystal honey, Preciosa Czech crystal 4mm bicone.
- Bead crystal light chrome 2X, Crystal Passions® 4mm bicone 5328.
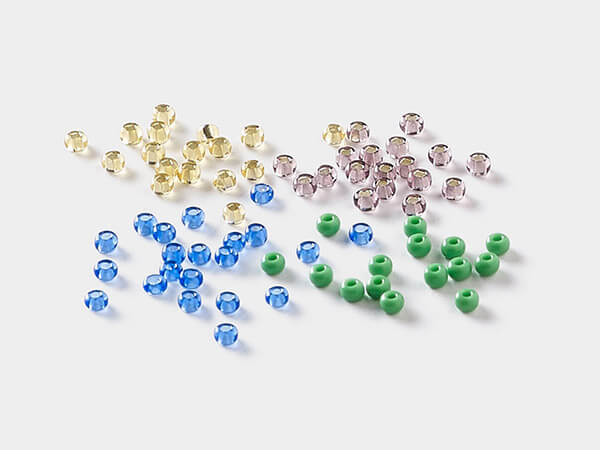
- Seed bead, Preciosa Ornela Czech glass, #8 rocaille, opaque matte metallic terra dyed gold clear, (18581).
Instructions
Bracelet Instructions
Cut four strands of C-Lon® beige nylon thread, 40 inches in length each. Fold each strand in half to create eight working strands. Tie an overhand knot in the middle
Using thread snippers, cut the end of each thread to make a needle-like point. Apply E6000® Fray Lock™ adhesive to the ends of each thread.
Add sixteen #8 seed beads, then twelve 4mm crystal bicone beads, then another sixteen #8 seed beads to each of your 8 threads.
Push the folded end of the cords through the center hole of the kumihimo disk. Hold the folded end firmly in place on the underside of the disk. Add weights to the threads to keep them taut.
Pull each cord tightly into its designated slot to set up the face of the disk as follows, alternating the strands by color of crystal bicone beads:
- Top: 2 cords placed in Slot #32 and Slot #1
- Bottom: 2 cords placed in Slot #17 and Slot #16
- Right: 2 cords placed in Slot #8 and Slot #9
- Left: 2 cords placed in Slot #24 and Slot #25
With North at the top of the disk, follow this pattern:
- Move the top left strand (Slot #32) down to bottom left (Slot #18).
- There are now three strands at the bottom
- Move the bottom right strand (Slot #16) up to top right (Slot #2).
- Rotate the disk counterclockwise by 1/4 turn (90 degrees).
- The East slots (#8 and #9) are now at the top.
- Move the top left strand (Slot #8) down to Slot #26.
- Move the bottom right strand (Slot #24) up top Slot #23.
- Rotate the disk counterclockwise by 1/4 turn again.
- The South slots (#16 and #17) are now at the top.
- Repeat the pattern:
- Top left down, bottom right up, rotate
- Continue until you reach the desired braid length or about 3 inches
Continue braiding pattern as before, but this time, you’re going to drop a seed bead into the center of the disk, making sure the seed bead is tucked under the threads before securing the thread into the next slot. Use your fingers to make sure beads are snug and secure.
Continue braiding until you have used all 16 seed beads. Then continue dropping the crystals until they are gone, then back to seed beads until they are gone. Continue braiding an additional 3 inches.
Take the two threads you would have braided next. They will be diagonally opposite each other. Bring them across the middle of the disk and tie an overhand knot. Make sure it tightens all the way down to end of the braid. Then take the next two threads and do the same. Continue to do the same with the rest of the threads.
Add E6000 Fray Lock adhesive to the ends of the strands. Insert into one side of a magnetic clasp. Then glue the other side of the magnetic clasp to the other end of the bracelet.
Tip: If you need to pause, stop when you have three strands at the top. This makes it easier to remember where you left off.
Shop for Your Materials Here:
Copyright Permissions
The pieces featured in the Gallery of Designs are copyrighted designs and are provided for inspiration only. We encourage you to substitute different colors, products and techniques to make the design your own.
All works of authorship (articles, videos, tutorials and other creative works) are from the Fire Mountain Gems and Beads® Collection, and permission to copy is granted for non-commercial educational purposes only. All other reproduction requires written permission. For more information, please email copyrightpermission@firemtn.com.