Secrets to Kumihimo Project 9: 8 Strand Flat Wire Braid
In this Secrets to Kumihimo video, discover how to make a beautiful 8-strand flat wire braid—perfect for bracelets and other jewelry designs. Follow along as we guide you through each step, sharing expert tips for smooth braiding, consistent tension and professional finishes.


Design Idea RC3J
-- Designer --
Elaine, Jewelry Designer, Exclusively for Fire Mountain Gems and Beads®
To learn more about Elaine Young, read her jewelry artist success story here.
: : : Materials : : :
Click here to view a full list of materials used in this design.
Please take the creative opportunity to select the products of your choice for this design, offered here at Fire Mountain Gems and Beads. Some materials may not be available or listed.
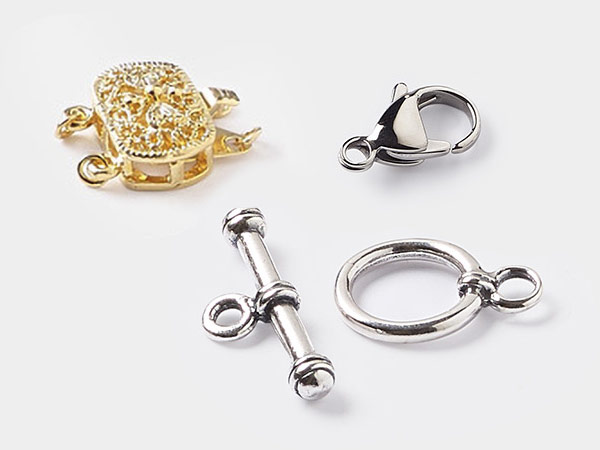
- Jump ring, silver-plated brass, 4mm round, 2.4mm inside diameter, 20 gauge.
- Wire, Zebra Wire™, natural copper, round, 26 gauge.
- Wire, Zebra Wire™, tinned copper, silver color, round, 26 gauge.
- Kumihimo disk, EVA foam, white and black, 6-inch round and 3/8 inch thick with 1-1/2 inch inside hole and 32 slots.
- Ribbon crimp end, silver-plated brass, 10x6mm textured rectangle.
- Wire knitter and kumihimo weight, Artistic Wire®, steel.
- Clasp lobster claw, silver-plated, 12x7mm swivel.
- Adhesive, E6000®, adhesive, clear.
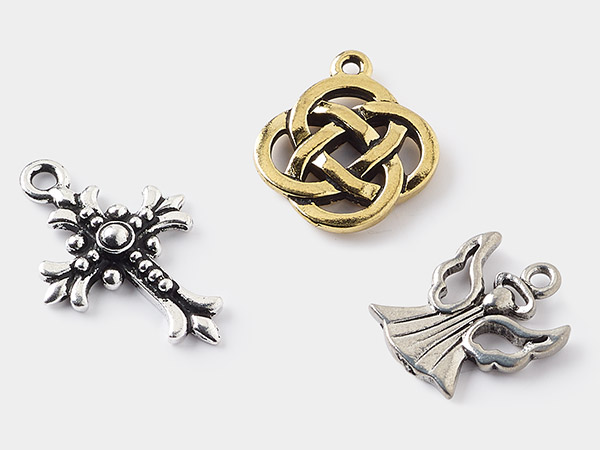
- Drop brass, 17x17mm diamond-shaped Celtic knot, copper plate.
- Jump ring, silver-plated brass, 6mm round, 4.2mm inside diameter, 18 gauge.
Instructions
Cut eight 40-inch strands of Zebra Wire™ natural copper round 26-gauge wire.
Cut eight 40-inch strands of Zebra Wire tinned copper silver color round 26-gauge wire.
Line the wire strands up evenly and find the middle. Take the center of the wire, fold it around your finger and twist it a couple times.
Drop the loop into the center of the square kumihimo disk. Place the ends of the wires into the slots on the square kumihimo disk as follows:
- One group of 4 silver-color wires into Slot top 6
- One group of 4 silver-color wires into Slot top 7
- One group of 4 natural copper wires into Slot right B
- One group of 4 silver-color wires into Slot right C
- One group of 4 natural copper wires into Slot bottom 6
- One group of 4 natural copper wires in to Slot bottom 7
- One group of 4 silver wires into Slot left C
- One group of 4 natural copper wires into Slot left B
Add a kumihimo weight to the loop in the center to hold it down.
Begin braiding by moving the wires in the following pattern:
- Move the group of 4 wires from Slot top 7 to Slot left D
- Move the group of 4 wires from Slot top 6 to Slot right D
- Move the group of 4 wires from Slot bottom 7 to Slot left A
- Move the group of 4 wires from Slot bottom 6 to Slot right A
- Move the group of 4 wires from Slot right B to Slot bottom 7
- Move the group of 4 wires from Slot left B to Slot bottom 6
- Move the group of 4 wires from Slot right C to Slot top 7
- Move the group of 4 wires from Slot left C to Slot top 6
- Move the group of 4 wires from Slot right A to Slot right B
- Move the group of 4 wires from Slot right D to Slot right C
- Move the group of 4 wires from Slot left A to Slot left B
- Move the group of 4 wires from Slot left D to Slot left C
This should complete one revolution, bringing you back to the starting wire positions.
Tip: When moving wires, be sure to straighten and smooth them out with your fingers to avoid kinks in the wire.
Repeat the braiding pattern from Step 3: top to sides, bottom to sides, sides to bottom and top and then back to center (starting position). Continue braiding until you reach your desired length or run out of wire.
Take the wires off the square kumihimo disk. Trim the excess wire at the end of the braid.
Using chain-nose pliers, bend the wires inward to secure them.
Measure the bracelet. Make sure it’s the desired length. Make any necessary adjustments. Using a toothpick, apply E6000® adhesive to the end of your braid and to the inside of a 10x6mm silver-plated rectangle ribbon crimp end, making sure all wire is tucked in.
Attach a ribbon crimp end to the other end of the bracelet as above. Using chain-nose pliers, squeeze the ribbon crimp end together to secure it.
Using a 4mm 20-gauge round jump ring, attach a lobster-claw clasp to one end of the bracelet.
Attach another 4mm 20-gauge round jump ring to the loop on the ribbon crimp end on the other end of the bracelet.
Attach a Celtic knot drop to a 6mm 18-gauge round jump ring. Then attach the jump ring to the bracelet.
Shape the bracelet, beginning in the middle.
Shop for Your Materials Here:


Copyright Permissions
The pieces featured in the Gallery of Designs are copyrighted designs and are provided for inspiration only. We encourage you to substitute different colors, products and techniques to make the design your own.
All works of authorship (articles, videos, tutorials and other creative works) are from the Fire Mountain Gems and Beads® Collection, and permission to copy is granted for non-commercial educational purposes only. All other reproduction requires written permission. For more information, please email copyrightpermission@firemtn.com.