

Polymer Clay Custom Color Blending

Color blending is one of the foundational skills of polymer clay art. Color blending allows artists to create custom palettes, smooth ombré gradients, one-of-a-kind caning patterns and more.
Polymer clay artists have a variety of ways to create color variations in their chosen medium. Techniques such as Skinner and Simmons blends produce those smooth gradient effects, but what do jewelry makers do if they need to match a specific outfit, theme or even the color of their kitchen walls?
Custom color blending to the rescue!
Custom Color Blending and Basic Color Theory
Creating custom polymer clay colors is easier than you might think. It all starts with understanding primary colors and basic color theory. To learn more, click through to the video and article The Basics of Color and Its Influence in Jewelry Design. This resource will give you a crash course in the fundamentals of color theory: the color wheel and how it works, the psychology of color and more.
With that information under your belt, the design possibilities are vast. You can customize colors to match almost anything, from your customers’ favorite clothing to popular home décor colors and seasonal decoration palettes.
Fractions and Ratios in Polymer Clay Custom Colors
Fractions? Yes, fractions!
Custom color blending is all about mixing different ratios of polymer clay colors. That means using multiple portions or fractions of a whole, then mixing them together. And you thought you’d never use fractions again after graduation, didn’t you?
Here’s an example:
- You need to match a rich cranberry color for a wedding dress or holiday décor.
- Condition your clay thoroughly.
Roll each color to an even thickness with a hand roller on slats or with a poly-roller machine to ensure consistent color distribution and even clay amounts. - Cut a standard shape.
Use a shapecutter, such as a circle or square, to create accurate portions for repeatable results. - Measure the proportions.
For this cranberry color, use:- 2 full circles of cadmium red
- 1/2 circle of cobalt blue
- Blend the colors together until the mixture is uniform. The result is a rich cranberry shade.
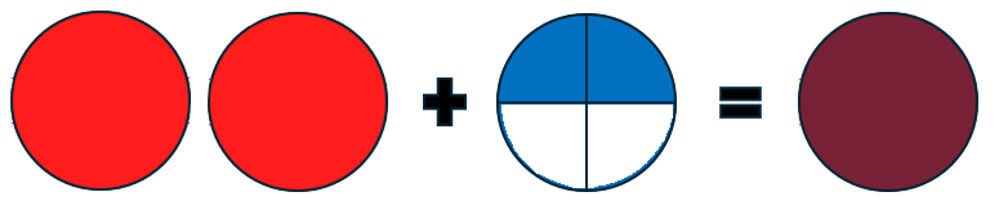
To light or darken the cranberry color you can add black or white in small amounts at a time like 1/16th of a circle, divisions shown in this pie-like graphic:
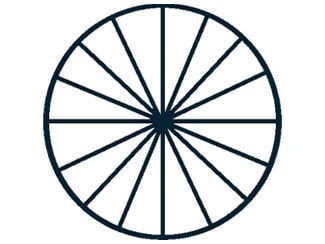
To adjust the color:
- Add small amounts of white clay to lighten the mixture.
- Add small amounts of black clay to darken the mixture.
The smaller “pie slice” you use, the better control you will have over the outcome. Be sure to write down what adjustments you make as you add them, so you have a recipe for re-creating the color whenever you want.
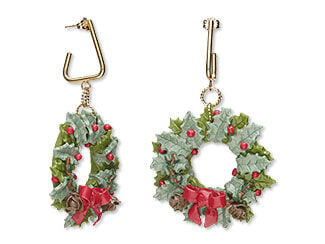


Tips for Building a Color Recipe Library
The more work you do with polymer clay color blending, the more novel colors you’ll create. And once you discover the perfect shade for an ongoing product line—or if you ever have to create a replacement piece for one of your customers—having a library of color recipes will save loads of time and frustration.
Here are some tips to keep in mind while you build your library:
Write it down!
As Adam Savage said on Mythbusters, the difference between “messing around” and “science” is writing it down. So, each time you make a color, write down the proportions used to make it.
Be sure to list consistent and precise ratios / fractions / percentages / parts—not how many ounces or grams—in the notes. Even though 1/8th of a 1-inch circle is smaller than 1/8th of a 3-inch circle, if the proportions are the same, you’ll end up with the same color result each time, no matter how big (or small) the batch is.
Ratios and percentages are easier to replicate, too. A recipe that says "4 parts red, 1 part blue" is much easier to reproduce and scale upward. Can you imagine trying to create a bigger batch of a recipe that’s “8g red, 1oz blue”? That’s not just fractions—that’s algebra.
Start with the color wheel!
Whether it’s a professional printed color wheel or a layout of the primary, secondary and tertiary colors in your preferred polymer clay, start with a known. Identify the color closest to your desired shade, then add small amounts of neighboring colors to fine-tune the hue. (Don’t forget to Write It Down!)
You can expand and move beyond the basics as you become more comfortable with custom color creation. And don't be afraid to experiment—every blend teaches you something new about color relationships. With practice, you'll know at a glance which colors and ratios are needed to achieve specific results.
Baking changes things!
Test fully before you commit. Polymer clay colors often appear slightly different after baking, and a color sample allows you to confirm the finished color before committing to a larger project.
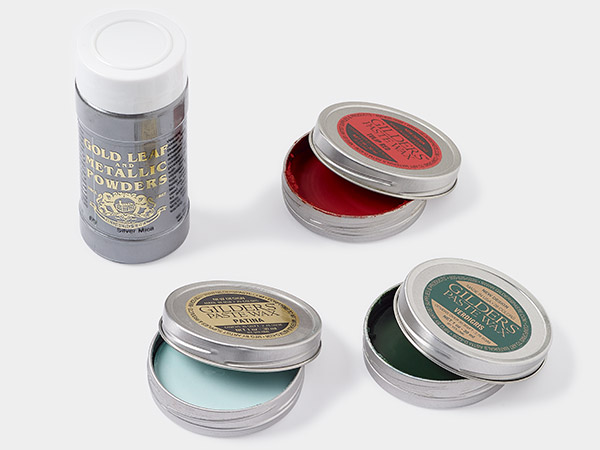
Some clay artists even create charts showing what their custom colors look like with different shades of mica powder, Gilders Paste® and other surface treatments.
Avoid the guesswork!
Create master color samples by taking small swatches of your custom blends and organizing them in a binder or on cables or cord.
If the sample is large enough, label the back with the clay colors used and the recipe of proportions. Smaller color chips or samples in a binder would need labels underneath.
You’ll be able to reference back to this color recipe library whenever needed to recreate favorite shades later.
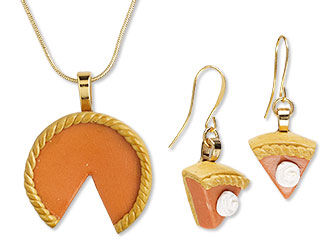

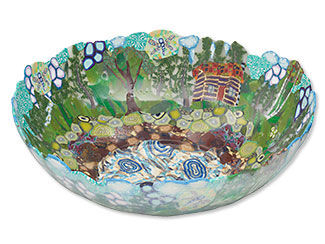
In conclusion, custom color blending is a fundamental skill that expands the creative possibilities of polymer clay art. By mastering this technique, artists can create custom colors and build libraries of blends to refer back to as long as they need them.
Most importantly! Have fun experimenting! There is no wrong way to learn polymer clay color blending, and every custom mix brings you one step closer to creating the perfect color for your next project.


Shop for Your Materials Here:
Have a question regarding this project? Email Customer Service.
All works of authorship (articles, videos, tutorials and other creative works) are from the Fire Mountain Gems and Beads® Collection, and permission to copy is granted for non-commercial educational purposes only. All other reproduction requires written permission. For more information, please email copyrightpermission@firemtn.com.
**Please note that all metaphysical or healing properties listed are collected from various sources. This information is offered as a service and not meant to treat medical conditions. Fire Mountain Gems and Beads® does not guarantee the validity of any of these statements.