Refine Your Results
You Searched for: bead stringing
Selected Refinements: Essential Resources Reset
355 Products and 37 Resources Found
Page 1 of 2
Results Per Page 24 | 48 | 96
Sort By
Sort
  • Name A-Z
  • Name Z-A
  • Newest First
  • Oldest First
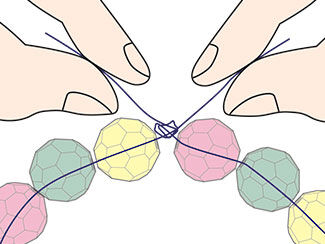
Tension (or Stop) Bead
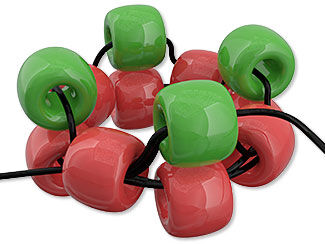
A tension bead (or stopper bead) holds your work in place. To make one, string a bead larger than those you are working with, then pass through the bead one or more times, making sure not to split your thread. The bead will be able to slide along but will still provide tension to work against when you're beading the first two rows.
Stringing
Stringing
A technique in which beads are gathered on a strand. Beading wire, needle and thread and other materials are used for stringing.
Tubular Herringbone Stitch
Begin with a foundation row of ladder stitch. Join the ends together to form a tube. String 2 beads. Pass down through the next bead and up through the bead after it. Repeat around the tube. At the end of the round, pass through the first beads of the previous and current rounds to step up to the new round.
Netting (Single Thread)
Begin by stringing a base row of 13 beads. String 5 beads and go back through the fifth bead from the end of the base row. String another 5 beads, skip 3 beads of the base row, and go back through the next. Repeat to the end of the row, passing through the fifth, fourth, and third beads of those just strung and exiting from the third. Turn the work over and go back across the same way.
Flat Herringbone Stitch
Begin with a foundation row of even-count ladder stitch. String 2 beads, pass down through the second to last bead in the ladder, and up through the next bead. String 2 beads, pass down the next bead and then up through the following. Repeat to the end of the row. To end the row, pass back through the last bead strung. To begin the next row, string 2 beads and pass down through the second to last bead of the previous row. Repeat, stringing 2 beads per stitch and passing down then up through two beads of the previous row. The 2-bead stitch will cause the beads to angle-up in each row, like a herringbone fabric.
Tubular Peyote Stitch
String an even number of beads and make a foundation circle by passing through them two more times, exiting from the first bead strung. String 1 bead and pass through the third bead of the foundation circle. String 1 bead and pass through the fifth bead of the foundation circle. Continue adding 1 bead at a time, skipping over 1 bead of the first round, until you have added half the number of beads of the first round. Exit from the first bead of the second round. String1 bead, pass through the second bead added in the second round and pull thread tight. String 1 bead and pass through the third bead added in the second round. Continue around, filling in the ''spaces'' 1 bead at a time. Exit from the first bead added in each round.
Ladder Stitch
Ladder Stitch
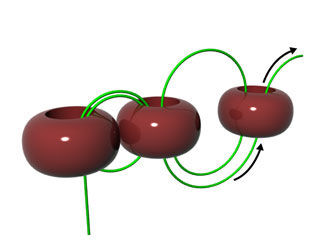
Using two needles, one threaded on each end of the thread, pass one needle through one or more beads from left to right and pass the other needle through the same beads from right to left. Continue adding beads by crisscrossing both needles through one bead at a time. Use this stitch to make strings of beads or as the foundation for brick stitch. For a single-needle ladder, string 2 beads and pass through them again. String 1 bead. Pass through the last stitched bead and the one just strung. Repeat, adding one bead at a time and working in a figure-eight pattern.
 Flat Peyote Stitch
Flat Peyote Stitch
One-drop peyote stitch begins by stringing an even number of beads to create the first two rows. Begin the third row by stringing one bead and passing through the second-to-last bead of the previous rows. String another bead and pass through the fourth-to-last bead of the previous rows. Continue adding one bead at a time, passing over every other bead of the previous rows. Two-drop peyote stitch is worked the same as above, but with two beads at a time instead of one.
Right-Angle Weave (Single Needle) Stitch
The right angle weave (RAW) is a basic jewelry-making stitch often used with seed beads and crystal beads. String 4 beads and pass through them again to form the first unit. For the rest of the row, string 3 beads, pass through the last bead passed through in the previous unit, and the first two just strung; the thread path will resemble a figure-8, alternating directions with each unit. To begin the next row, pass through the last 3 beads strung to exit the side of the last unit. String 3 beads, pass through the last bead passed through, and the first bead just strung. *String 2 beads, pass through the next edge bead of the previous row, the last bead passed through in the previous unit, and the last 2 beads just strung. Pass through the next edge bead of the previous row, string 2 beads, pass through the last bead of the previous unit, the edge bead just passed through, and the first bead just strung. Repeat from * to complete the row then begin a new row as before.
Right-Angle Weave (Double Needle)
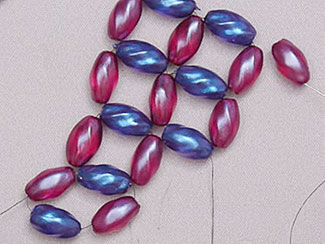
Using two needles, one on each end of the thread, string three beads on one of the needles and slide them to the center of the thread. String a fourth bead, passing one needle through from left to right and passing the other needle through from right to left. String one bead with each needle, then pick up one more bead and pass one needle through from left to right and pass the other needle through from right to left. Continue for desired length of row. To work the next row, repeat as for the first row, stringing new beads only onto the right thread and passing back through beads from the first row with the left thread. To make a row-end decrease, simply stop your row short and begin a new row.
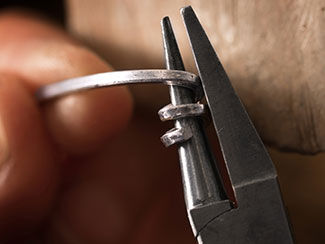
6 Essential Jewelry Making Techniques You Need to Know
Follow along as Patti shares her list of top tools and materials every jewelry maker needs for various techniques.
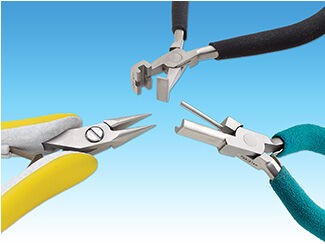
The Talk About Pliers
Explore the many types of pliers to help you find the right one for every project.
The Beadmakers' Handbook
The first openly available resource for the beader and jewelry maker, the Beadmakers' Handbook includes bead-stringing designs and techniques. Download the free PDF and discover where it all began!
Stringing and Jewelry-Making Fundamentals
Bead stringing is the backbone of many designs; the rest can be done with a few jewelry-making fundamentals. Learn the fundamentals you need to create your own jewelry lines.
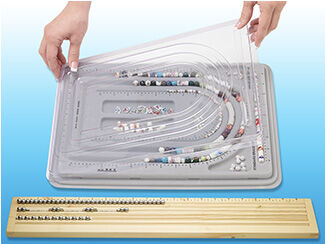
How to Use a Bead Board
Make your designing life easier with bead boards. Learn the bead board types and how these tools are advantageous to the beginner as well as the high-producing professional.
Using the Elastacord™ Bead Threader
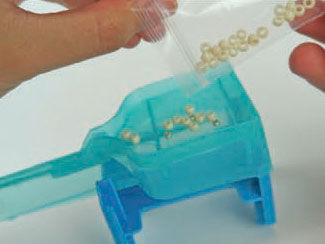
Never has it been easier to string beads than with the Elastacord™ Bead Threader. These concise instructions tell you everything you need to know to use this convenient tool.
How to Use Grommets
How to Use Grommets
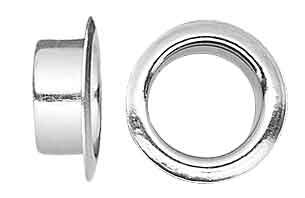
Metal grommets safeguard the edges of stringing holes in large-hole beads. This four-step guide walks designers through the process of securely gluing a grommet into the bead.
Endless Necklace
Endless Necklace
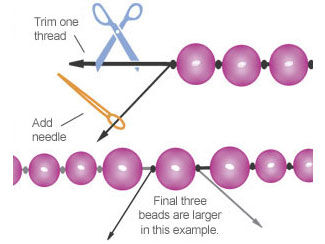
The possibilities are endless ... and claspless! Here's how to build a long necklace that slips over the head and has no visible beginning or end.
How to Use Bulldog Crimps™
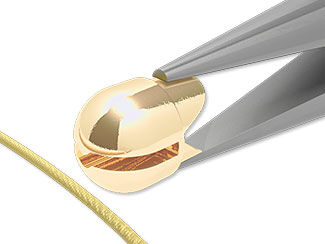
Using Bulldog Crimps™ is easy. They work ideally as temporary crimps for stringing beads and holding multiple strands together for display or organization.
How to Assemble and Use the Wrapit Loom™
With the Wrapit Loom™ tying station, you can say goodbye to the complexities of intricate bead-stringing and hello to a hassle-free way to craft beautiful bracelets. With this easy-to-use tool, you can create stunning bracelets without getting tied up in knots.
Using Small Crystals to Make Corners in Designs
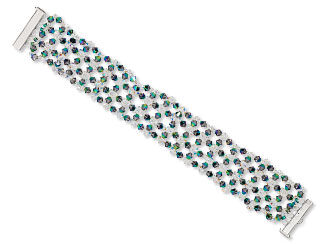
Learn how to use small crystals as corner beads and create this sparkling bracelet in this tutorial.
How To Remove the End on a Caprice Chain
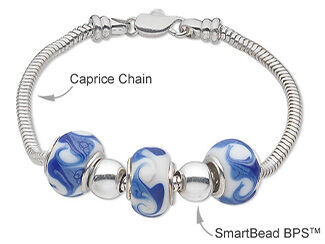
Easily create necklaces and bracelets with large-hole beads and bead keepers using caprice and Dione® Easy-On chains. These chains have two 8x5mm end caps. One has a clasp and the other unscrews for easy bead stringing. Clear images demonstrate every step in this how-to.
How to Create the Cubic Right Angle Weave
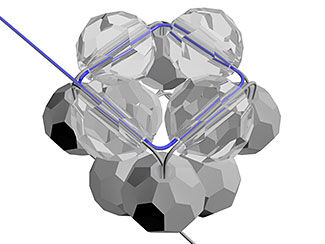
Here's an easy solution to learning the cubic right-angle weave. Simply follow this illustrative guide and start designing today.
Spacer Bar
Spacer Bar
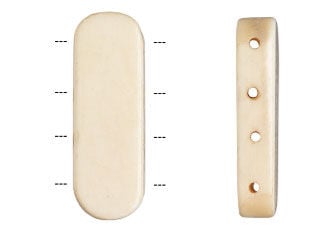
Jewelry finding used to hold multiple strands of beads in alignment and prevent tangling, are inserted at intervals while stringing the beads.
Results Per Page 24 | 48 | 96
Sort By
Sort
  • Name A-Z
  • Name Z-A
  • Newest First
  • Oldest First
355 Products and 37 Resources Found
Page 1 of 2