

Bag Charms with Sculpey® PREMO and Soufflé™ Polymer Clay and Crystal Passions® Flat Backs
Design Idea SG2M
-- Designer --
Elaine, Jewelry Designer, Exclusively for Fire Mountain Gems and Beads®
To learn more about Elaine Young, read her jewelry artist success story here.
: : : Materials : : :
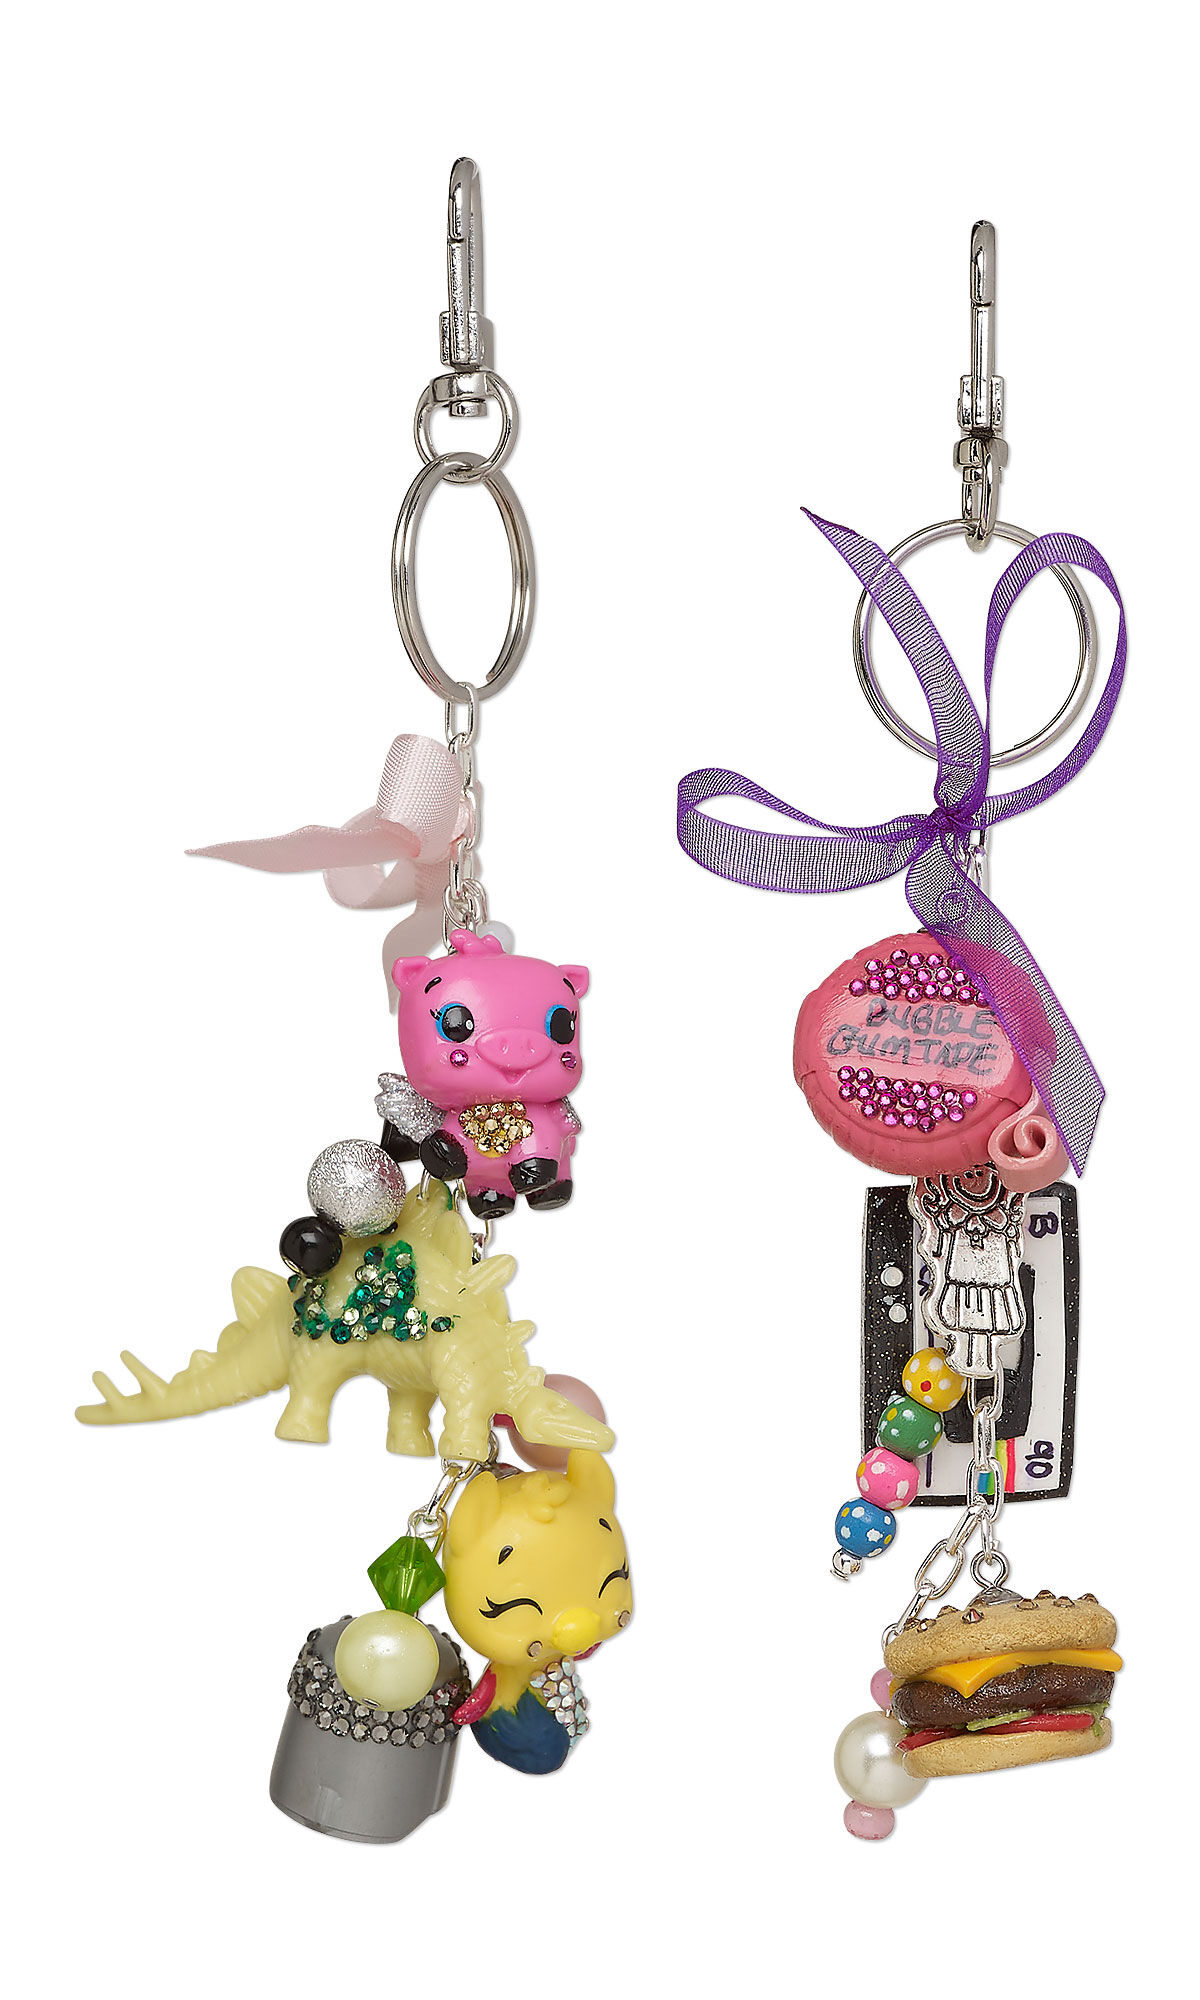
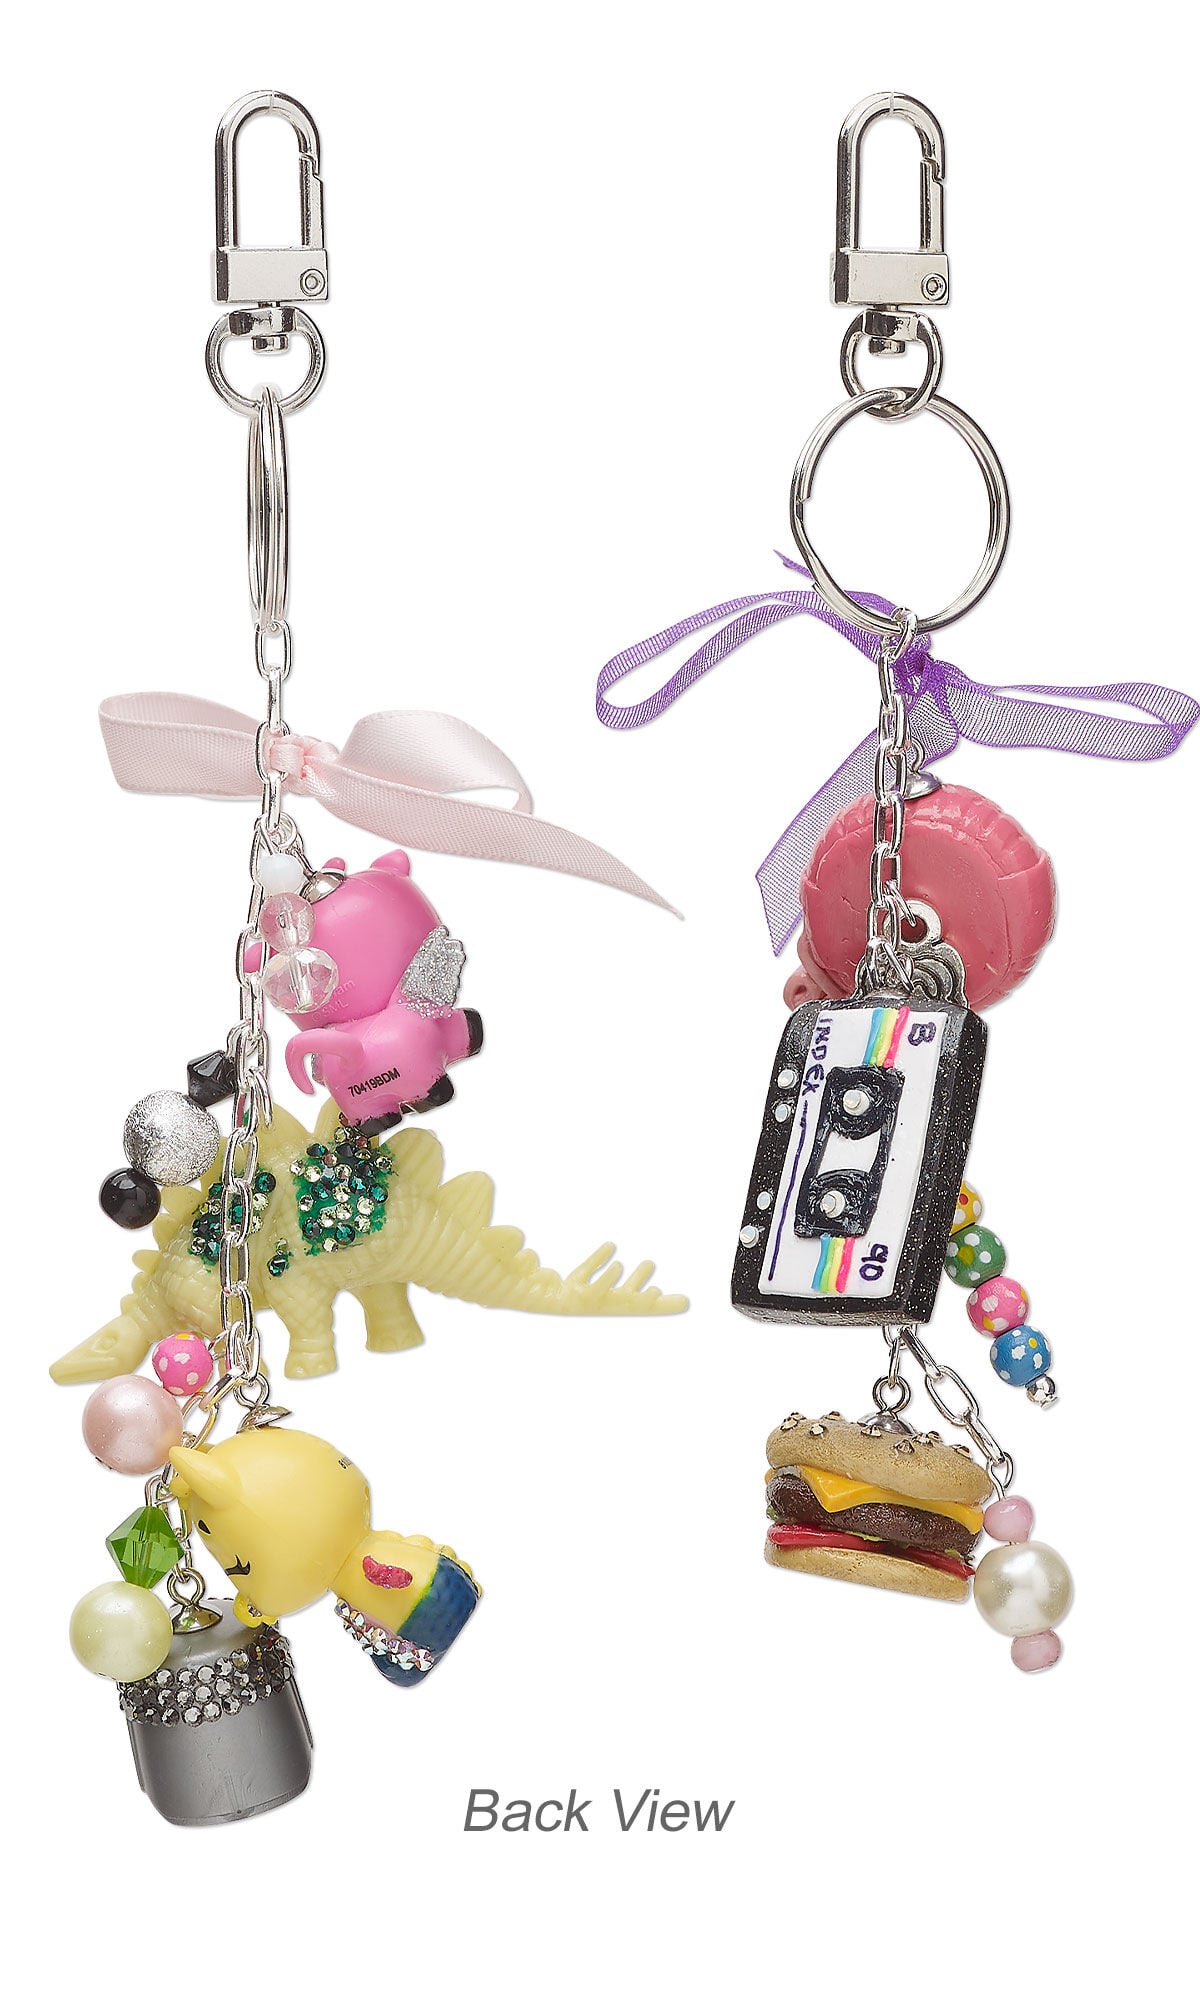
The bag charm on the left was made by decorating repurposed toys, and the bag charm on the right was made using polymer clay and other jewelry-making materials.
Click here to view a full list of materials used in this design.
Please take the creative opportunity to select the products of your choice for this design, offered here at Fire Mountain Gems and Beads. Some materials may not be available or listed.
- Repurposed toys
- Bead mix, Boss' Bead Bag™, 1 pound of great stuff
- Flat back, crystal AB foil back, Crystal Passions® 1.7-1.9mm rose round SS5 2058
- Flat back, light Colorado topaz foil back, Crystal Passions® 1.7-1.9mm rose round SS5 2058
- Flat back, white opal foil back, Crystal Passions® 1.7-1.9mm rose round SS5 2058
- Flat back, peridot foil back, Crystal Passions® 1.7-1.9mm rose round SS5 2058
- Flat back, fuchsia foil back, Crystal Passions® 1.7-1.9mm rose round SS5 2058
- Flat back, light Colorado topaz foil back, Crystal Passions® 2.1-2.3mm rose round SS7 2058
- Flat back, emerald, foil back, Crystal Passions®, 2.1-2.3mm round rose (2058), SS7
- Flat back, Dance With Me™ crystal hotfix rhinestone, black diamond, foil back, 1.9-2.1mm rose, SS6
- Key ring, imitation rhodium-finished brass and steel, 55.5x25.5mm overall with 21x12mm self-closing trapezoid on a swivel with 25mm split ring
- Jump ring, silver-plated, 7mm round, 18 gauge / 5.1mm inside diameter / brass
- Jump ring, silver-plated, 8x6mm oval, 16 gauge / 5.7x3.6mm inside diameter / brass
- Head pin, silver-plated, 2 inch, 21 gauge brass
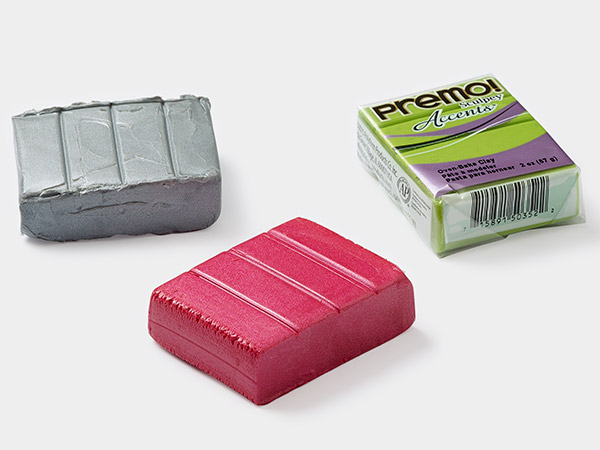
- Polymer clay, Sculpey® PREMO, white
- Polymer clay, Sculpey® PREMO, cadmium yellow hue
- Polymer clay, Sculpey® PREMO, ecru
- Polymer clay, Sculpey® PREMO, Spanish olive
- Polymer clay, Sculpey® PREMO, blush
- Polymer clay, Sculpey® PREMO, orange
- Polymer clay, Sculpey® PREMO, burnt umber
- Polymer clay, Sculpey® PREMO, white translucent
- Polymer clay, Sculpey® PREMO, twinkle twinkle
- Polymer clay, Sculpey® Soufflé™, cherry pie
- Polymer clay, Sculpey® Soufflé™, French pink
- Sculpey® Premo™ + Soufflé™ polymer clay, neon and pastel mixed colors (PE 4075)
- Liquid polymer clay, translucent clear Liquid Sculpey®
- Chain, silver-plated paperclip, 4mm, steel
- Cup, stainless steel, 10x6mm with 6mm cup and 5mm twisted peg, fits 6-10mm bead
- Sculpey® acrylic emulsion, glaze, clear (ASGUV2)
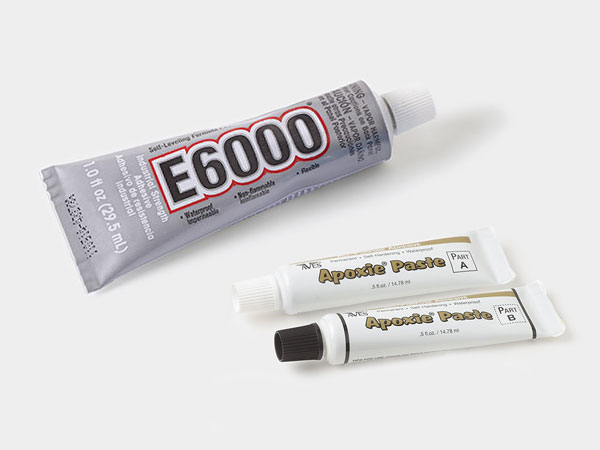
- Adhesive, Devcon® 5 Minute® Epoxy, 2-part epoxy, clear (14250)
- Adhesive, G-S Hypo Cement®
Instructions
Bubble Gum Tape Charm
Using half a bar of Sculpey® Soufflé™ French pink polymer clay (about 0.8 ounces), roll a ball and then flatten the clay into the shape of the container of the bubble gum tape. Carve lines and bubbles with a toothpick. Poke a hole for a peg in the top of the bubble tape container using a toothpick.
Tip: New to working with polymer clay? Watch the video “Top 5 Tips for Working with Polymer Clay” for some basic advice. Looking for more advanced tips? Watch the series of videos “Secrets to Polymer Clay with Christi Friesen.”
Using 1/6 of a 2-ounce bar of Sculpey PREMO blush polymer clay, make a 1cm wide strip of gum. Then roll it up, leaving a small tail.
Cut a small rectangle the same width out of the side of the bubble gum tape container.
Place the tail of the “gum” into the cut area and attach it using Liquid Sculpey liquid polymer clay.
Bake according to the manufacturer's instructions. Let it cool completely.
Glaze the polymer clay bubble gum tape with Sculpey clear acrylic emulsion.
Using Devcon 5 Minute® 2-part epoxy, attach a 10x6mm stainless steel cup and peg to the hole in the bubble gum tape container that you made in Step 1.
Using a thin permanent marker, add details to the bubble gum tape container.
Using Devcon 5 Minute 2-part epoxy, decorate the front of the bubble tape container with rhinestone flat backs.
Cassette Tape Charm
Cut a quarter bar of Sculpey PREMO twinkle twinkle (black) polymer clay. Shape it into a rectangle to represent a cassette tape. Then poke a hole for a peg in the top with a toothpick.
Cut a small piece of Sculpey PREMO white polymer clay. Shape it into a rectangle of an appropriate size to be the label for the cassette tape and attach it to the cassette tape using Liquid Sculpey.
Using Sculpey PREMO twinkle twinkle (black) polymer clay, make a thin rope to serve as the border of the window in the center of the cassette and attach it to the cassette tape using Liquid Sculpey.
Using Sculpey PREMO twinkle twinkle (black) polymer clay, make the wheels of the cassette tape and attach them to the cassette tape using Liquid Sculpey.
Using neon colors from the Sculpey Premo + Soufflé polymer clay neon and pastel mixed colors pack to make lines on the cassette tape’s label. Attach them using Liquid Sculpey.
Bake according to the manufacturer's instructions. Let it cool completely.
Glaze the polymer clay cassette tape with Sculpey clear acrylic emulsion.
Using Devcon 5 Minute 2-part epoxy, attach a 10x6mm stainless steel cup and peg to the hole in the cassette tape container that you made in Step 1.
Using a thin permanent marker, add details to the cassette tape label.
Using Devcon 5 Minute 2-part epoxy, decorate the front of the cassette tape with rhinestone flat backs.
Cheeseburger Charm
Using one quarter of a 2-ounce bar of Sculpey PREMO ecru polymer clay, make the top and bottom halves of a burger bun.
Mix a small amount of Sculpey PREMO cadmium yellow hue polymer clay with a touch each of Sculpey PREMO orange and white translucent polymer clay to make a cheese slice. Make it into a small square of an appropriate size for the burger buns you made in Step 1.
Make a burger patty using Sculpey PREMO burnt umber polymer clay. Use a black chalk pastel for detailing.
Make a tomato slice using a combination of Sculpey PREMO cherry pie and white translucent polymer clay.
Make a lettuce leaf using a combination of Sculpey PREMO Spanish olive and white translucent polymer clay.
Assemble the cheeseburger, using Liquid Sculpey to glue the pieces together.
Using a toothpick, make a hole for a peg in the top of the bun.
Bake according to the manufacturer's instructions. Let it cool completely.
Glaze the polymer clay cheeseburger with Sculpey clear acrylic emulsion.
Using Devcon 5 Minute 2-part epoxy, attach a 10x6mm stainless steel cup and peg to the hole in the burger bun.
Using Devcon 5 Minute 2-part epoxy, decorate the top of the burger bun with rhinestone flat backs.
Upcycled Toy Charms
If the toy you selected does not have a loop or hole for a jump ring or cup and peg, drill a hole.
Using Devcon 5 Minute 2-part epoxy, attach a 10x6mm stainless steel cup and peg to the hole. If your toy has a loop, attach a 7mm 18-gauge jump ring to the loop.
Tip: Test the epoxy on a less important part of the toy before gluing to make sure there is no adverse chemical reaction.
Using Devcon 5 Minute 2-part epoxy, decorate the toy as you desire.
Beaded Drops
Thread your choice of beads onto a 2-inch 21-gauge silver-plated head pin.
Finish the head pin with a wrapped loop to make a beaded drop.
Assembling the Keychains
Cut a 4-inch length of silver-plated 4mm paperclip chain.
Using an 8x6mm 18-gauge silver-plated oval jump ring, attach the chain to a split ring key ring.
Using 8x6mm 18-guage silver-plated oval jump rings, attach the polymer clay components, upcycled toys and/or beaded drops to the chain, spacing them so they make a visually pleasing array.
Tie a ribbon in a bow on the top of the chain. Add a drop of G-S Hypo Cement® adhesive to secure the bows.
Shop for Your Materials Here:
The pieces featured in the Gallery of Designs are copyrighted designs and are provided for inspiration only. We encourage you to substitute different colors, products and techniques to make the design your own.
All works of authorship (articles, videos, tutorials and other creative works) are from the Fire Mountain Gems and Beads® Collection, and permission to copy is granted for non-commercial educational purposes only. All other reproduction requires written permission. For more information, please email copyrightpermission@firemtn.com.